{Spencer Makes} Salted Chunky Chocolate Cookie

salted chunky chocolate cookie

Nothing beats the smell of freshly baked cookies. NOTHING. When the mr kindly requested for me to make these salted chunky chocolate cookies, I couldn’t say no. haha

The first time I made these were for the Biggest Morning Tea last year and everyone loved it! So I decided to try making it with Spencer (my Thermomix) today, and it was so easy and quick!

13895134_895993767213158_2941545152233463400_n1

These are like chocolate chip cookies, but BETTER! Imagine biting into big chunks of semi melted chocolate chunks and each bite had a hit of salt! There’s just something about sweets with a touch of savoury that I love.

13892224_895993793879822_1240977147308032361_n1

So if you are like me and love a little savoury in your sweets, definitely give this cookie a god! It’s crunchy on the outside and chewy in the middle. SO ADDICTIVE! Can’t stop at one!

Salted Chunky Chocolate Cookie (adapted from Smitten Kitchen)

Makes 20-24 cookies

Ingredients :

113g unsalted butter, cold and cut into cubes

180g packed light brown sugar

25g raw sugar

1 egg

1 tsp vanilla bean paste

3/4 tsp  baking soda

1/2 tsp baking powder

1/4 tsp sea salt

22og plain flour

220g dark chocolate, cut into chunks

Fluer de Sel, to finish (or flaky sea salt)

13873155_895993740546494_2996270339589433075_n1

Steps :

1) Preheat the oven to 180 degrees C. Line two baking trays with baking paper and set aside.

2) Place butter, light brown sugar, raw sugar, egg and vanilla bean paste into the bowl and mix 2 mins/sp 3.

3) Add plain flour, baking soda, baking powder and sea salt and mix for 40 secs/sp 4.

13907062_895993713879830_3778816521033936200_n1

4) Add dark chocolate chunks and stir for 30 secs/ sp 2.

13891887_895993727213162_4116234321963311953_n1

5) Form dough by scooping 1 heap tablespoon and rolling the dough into a ball. Place them on the baking tray with 3cm space between each of them. Sprinkle some fluer de sel or flaky sea salt on top of the dough.

13880273_895993753879826_7034193518650481516_n1

6) Place them in the oven for 10 mins, until golden on the outside but still very gooey and soft inside. Out of the oven, let the cookies rest on baking sheet for 5 minutes before transferring a cooling rack.

13901591_895993810546487_3505350499996016882_n1

Enjoy and try to stop at one, I dare ya! hehe

Remember to always cook and bake with love! xx

The Coconutty Baked Brownie Bites

unnamed-8-1-1

Brownie. Who doesn’t love them? If you don’t, I’m not sure we can be friends. haha Kidding! But brownie is always something I cannot resist. When I see it, I have to have it – warmed, with a scoop of vanilla ice cream. PERFECTO!

There are many different type of brownies, but the ones I love most is crispy on the outside, and fudgey in the middle, and I think I found the perfect recipe!

All baked and cut

Just seeing how the top bit cracks, puts a smile on my face! And being a tad bit OCD and one who is trying to (but failing) lose the baby weight, I decided to cut them into bite size, so that I don’t feel too guilty when having one, or two. hehe

I’m in a coconutty phase, so I decided to add some fine desiccated coconut through the batter before baking and the flavour wasn’t too overpowering. Chocolate was still the major flavour with a tinge of coconut! Mmmm. Plus this wasn’t too sweet. Just the right level of sweetness!

So if you do like your brownie, I urge you to try this recipe, if you haven’t already heard of The Baked Brownie! My dad was here when I made these and he actually said, “How come the brownie from outside doesn’t taste like that?” haha That was one big compliment for me! hehe

The Coconutty Baked Brownie with Vanilla Ice Cream

Coconutty Baked Brownie Bites (Adapted from Pretty Simple Sweet)

 155g plain flour

1 tsp salt

2 tbs desiccated coconut

2 tbs cocoa powder

310g dark chocolate, cut into smaller pieces

230g unsalted butter

1 tsp instant espresso powder

100g caster sugar

100g packed light brown sugar

1 tsp vanilla bean paste

5 eggs, room temperature

Steps :

1) Preheat oven to 180 degrees celcius. Line the baking tin (I used a 9×13 inch rectangular baking tray) with baking paper, leaving some extra hanging off the sides for easy removal of the brownie.

2) In a medium bowl, mix the plain flour, salt, cocoa powder and desiccated coconut together. Set it aside.

3) Put the chocolate, butter, and instant espresso powder in a large bowl and set it over a small pot of simmering water, stirring occasionally, until the chocolate and butter are completely melted and smooth. Turn off the heat, but keep the bowl over the water and add the sugars. Whisk until completely combined, then remove the bowl from the pan. Allow the mixture to cool till room temperature.

4) Add 3 eggs to the chocolate mixture and whisk until combined. Add the remaining 2 eggs and whisk just until combined. Add the vanilla bean paste and stir until combined. Don’t overmix at this stage or your brownies will be cakey.

5) Add the flour mixture to the chocolate mixture and fold until just a bit of the flour mixture is visible.

6) Pour the batter into the prepared pan and smooth the top. Bake in the center of the oven for 30 minutes, rotating the pan halfway through the baking time, until a toothpick inserted into the center of the brownies comes out with a few moist crumbs sticking to it. Let the brownies cool completely, then lift them out of the pan using the parchment paper.

Baked and ready to be cut

Cut into bite sized squares

7) Cut them into bite sized squares and serve them warm with a scoop of ice cream!

Hope you all had a great weekend! Make these and have them today so that you can chase away any Monday blues and have a fantastic week ahead!

Remember to always cook and bake with love! Till the next post, xx.

PS: There will be a give-away in the next post, so stay tuned! (:

Chai Cheesecake with Speculoos Swirls

Chai Cheesecake

If you know me personally, then you know I’m obsessed with chai. My love for chai came really early one when I had my first chai latte at Galleon cafe. It was the first time I had freshly brewed chai, with the pot, strainer and the works! That sparked off my love for chai, almost instantly! haha

Byron Bay Cookies

My best christmas present this year came in the mail and in the form of cookies! Thanks to Keep Left PR, they were so generous to send me a whole box of Byron Bay Cookies to try! You could imagine the smile on my face when I opened the box. Grin. haha Since there were so many cookies, I wanted to make a dessert out of some of them! Soft and decadent deliciousness! The first cookie that got my attention was the Chai latte cookie (of course!). So through some research, I decided to make some chai latte cheesecakes! Mmmmm!

Processed with VSCOcam with t1 preset

And because I love my cakes with swirls and my dearest friend gave me a bottle of speculoos, I couldn’t resist swirling some into the cake! This cookie butter is magic and so addictive! Love the crunchy bits of cookie in the spread. I (shamelessly) eat this by the teaspoon haha

Chai latte cheesecake

Love love love the colour contrast of the off white cheesecake with the brown swirls! I was a happy girl (: I patiently waited for the cheesecake to set in the fridge overnight and had it for afternoon tea the next day! A pretty strong flavour of chai as I steep the spices in the cream to get a stronger chai flavour, and it worked! Paired with the chai latte cookie from Byron Bay Cookies, it was perfect! Chai on chai. DELISH!

So here is the recipe of these yummy cheesecake cups!

Chai Latte No-Bake Cheesecake Cups with Speculoos Swirls

(Adapted from Sweet and Savoury by Shinee)

ingredients

Ingredients :

250g cream cheese, room temperature

120g cookie, finely crumbed (I used Byron Bay Chai Latte cookies)

55g unsalted butter

3 gelatine leaves (or 2g of gelatine powder)

1 tsp vanilla bean paste

1/2 cup milk

1/3 cup thickened cream

1/2 cup icing sugar

8 pieces of cardamom, slightly crushed

8 cloves

1 star anise

1 tsp ground cinnamon

1 tsp ground nutmeg

1 black tea teabag (I used darjeeling tea)

50g speculoos, room temperature

Steps:

1) In a small saucepan, heat up the cream with the spices and teabag and allow it to simmer for 10-15 minutes. Strain and set aside, allowing it to cool.

chai infused cream

2) Place 12 cupcake liners on a tray or in a cupcake tin, and set aside. In a small bowl, mix the melted butter with the cookie crumbs until well combined. Put a tablespoon of cookie mixture into each liner and press it down firmly and evenly into the liner. Place it in the fridge to let it set for 15 minutes.

biscuit crumb mixture

3) In a standing mixer, place the cream cheese, icing sugar, vanilla bean paste and chai infused cream into the bowl. Whisk till mixture is smooth and well combined.

4) Soak the gelatine leaves according to the package instructions. In another small pot, heat up the milk, take it off the heat and place the gelatine leaves in. Stir till the gelatine is totally dissolved. Pour it into the cream cheese mixture, and whisk till well combined.

5) Pour mixture into the cupcake liners till about 3/4 full. Place the speculoos into the microwave for a few seconds, till it’s slightly runny. Pour a teaspoon of speculoos in a line, using a toothpick, make swirls by moving it from left to right.

chai latte no-bake cheesecakes

6) Refrigerate for at least 2 hours or overnight before serving it with a cuppa hot chai soy latte! Mmmmm! ENJOY!

chai latte cheesecake with chai soy latte

Have a great week ahead everyone! Thank you once again Byron Bay Cookies and Keep Left PR for the delicious cookies!

Remember to always bake and cook with love! xx

Japanese Sponge Strawberry Swissroll

Japanese sponge strawberry swissroll

Good morning dear readers! Firstly I would like to apologise for the long hiatus. It’s been an exciting and eventful coupe of months as we warmly welcome the newest addition to our Ho family (: That’s right! Lochlan Ho was born on the 8th of August and he has been an absolutely blessing and gem to every one around him!

10678647_10152244040387757_6479934814849348223_n-1

Having this precious boy in our lives is the best thing that has happened to us (: We can’t love him enough!

But I’m slowly coming back with posts from months back and I hope you can be patient with me as I try and get my routine back in place. Thank you all so much for your constant support, even though I haven’t been posting! It’s very encouraging and makes me wanna get back to it as soon as possible!

Japanese sponge strawberry swissroll

 So to celebrate my return, I decided to share one of my favourite recipes that I’ve baked a few times before bubba arrived! One that was shared by my cousin-in-law and enjoyed by everyone!

I have an obsession with swissrolls and just love making them! Of course, needless to say, I love to eat them too! hehe To date, I’ve made a matcha swissroll with azuki cream, chocolate with cream and fresh raspberries and this has to be my favourite, japanese sponge with fresh strawberries! A light and fluffy sponge that is not too sweet, paired perfectly with fresh strawberries and freshly whipped vanilla bean cream! NOMS! So if you’re a fan of swissrolls, do give this recipe a shot! I’m very sure you will enjoy it as much as I did!

Japanese Sponge Strawberry Swissroll 

3 egg yolks

35g castor sugar

50ml water, room temperature

40ml olive oil

80g cake flour

3 egg whites

30g castor sugar

1 tsp corn flour

200ml whipping cream

1 tsp vanilla bean paste

2 tbs icing sugar

8-10 fresh strawberries, cut into small cubes

fresh strawberries

Steps : 

1) Preheat oven to 160 degrees Celcius. Line the bottom of a 27×27 baking tray with greaseproof paper. Do not line the sides.

2) In a standing mixing bowl, cream the yolks and 35g of sugar until pale. Combine the water and olive oil into a cup and pour into the yolk mixture. Sift the cake flour into the mixture and continue mixing till combined. Set aside.

3) In another clean mixing bowl, whisk egg whites till foamy and add 30g sugar. Add corn flour and continue whisking till firm peaks form.

Stiff peaks

4) Add the whisked egg whites into the yolk batter in 3 portions. Spread the batter into the baking tray. Bake the cake for 14 minutes, turning the cake at the half way mark to ensure even baking.

Combining the egg whites with the egg yolks

 5) Take the cake out of the oven and drop it a few times to reduce the shrinkage. Remove the cake for the baking tray and place it on a flat surface. Cover it with another baking tray to make sure it doesn’t dry out. Allow it to cool completely before filling it.

Japanese sponge cake - baked

6) Whip the cream till stiff peaks form and add the vanilla bean paste. Gently stir the vanilla bean paste till well combined.

7) Release the edges of the baking paper of the cake. Cover the cake with another sheet of baking paper, and flip it over. Slowy and gently remove the baking paper from the bottom of the cake. Place the paper on the bottom again and flip it back, in the upright position. Using a serrated knife, cute of the short edge furthest away from you with a diagonal cut.

8) Place the whipped vanilla bean cream onto the cake and using a spatula spread it out evenly, having a slightly thicker amount on the side closer to you. Add the strawberries evenly onto the cream. Fold the edge of the cake, pushing the paper forward, rolling the cake. Once rolled, wrap the cake with the clean sheet of baking paper, making sure it’s tightly wrapped. Cover with a plastic wrap and allow it to cool in the fridge.

9) To serve, unwrap the cake and place it on a long plate. Sift some icing sugar on top of the cake and slice it to the thickness of your liking. ENJOY!

 japanese sponge strawberry swissroll

Japanese Layered Sponge with Fresh Fruits

If you want to make a layered sponge cake instead of a swissroll, after releasing the cake from the tray, cut it into three even pieces, and layer the first two layers with freshly whipped vanilla bean cream and fresh fruits of your choice! To be honest, I did this only because my sponge kinda broke when I tried to roll it. haha So don’t stress if that happens!

Layered japanese sponge cake

I used fresh strawberries and blueberries! The only thing about the strawberries is that you gotta cut it into similar sizes so the cake will be flat enough for the next layer!

Strawberry layer

How pretty is the colour of the strawberries in contrast with the sponge? I love it! hehe So do give this recipe a try! It’s seriously one of my favourite recipes and a crowd pleaser!

PS : Thanks Liyun for sharing the recipe with me and giving me tips! (:

Remember to always cook and bake with love! Till the next post, xx

{Travels} My Guide Around Surry Hills, Sydney

photo 4-1-1

About 3 weeks back, the Mr and I decided to surprise my sister-in-law and brought her to Sydney for the weekend as her birthday present! Needless to say, the smile on her face when she opened the envelop containing her printed air ticket was priceless! It has been a long time since we went to Sydney as well, so I was super excited to go!

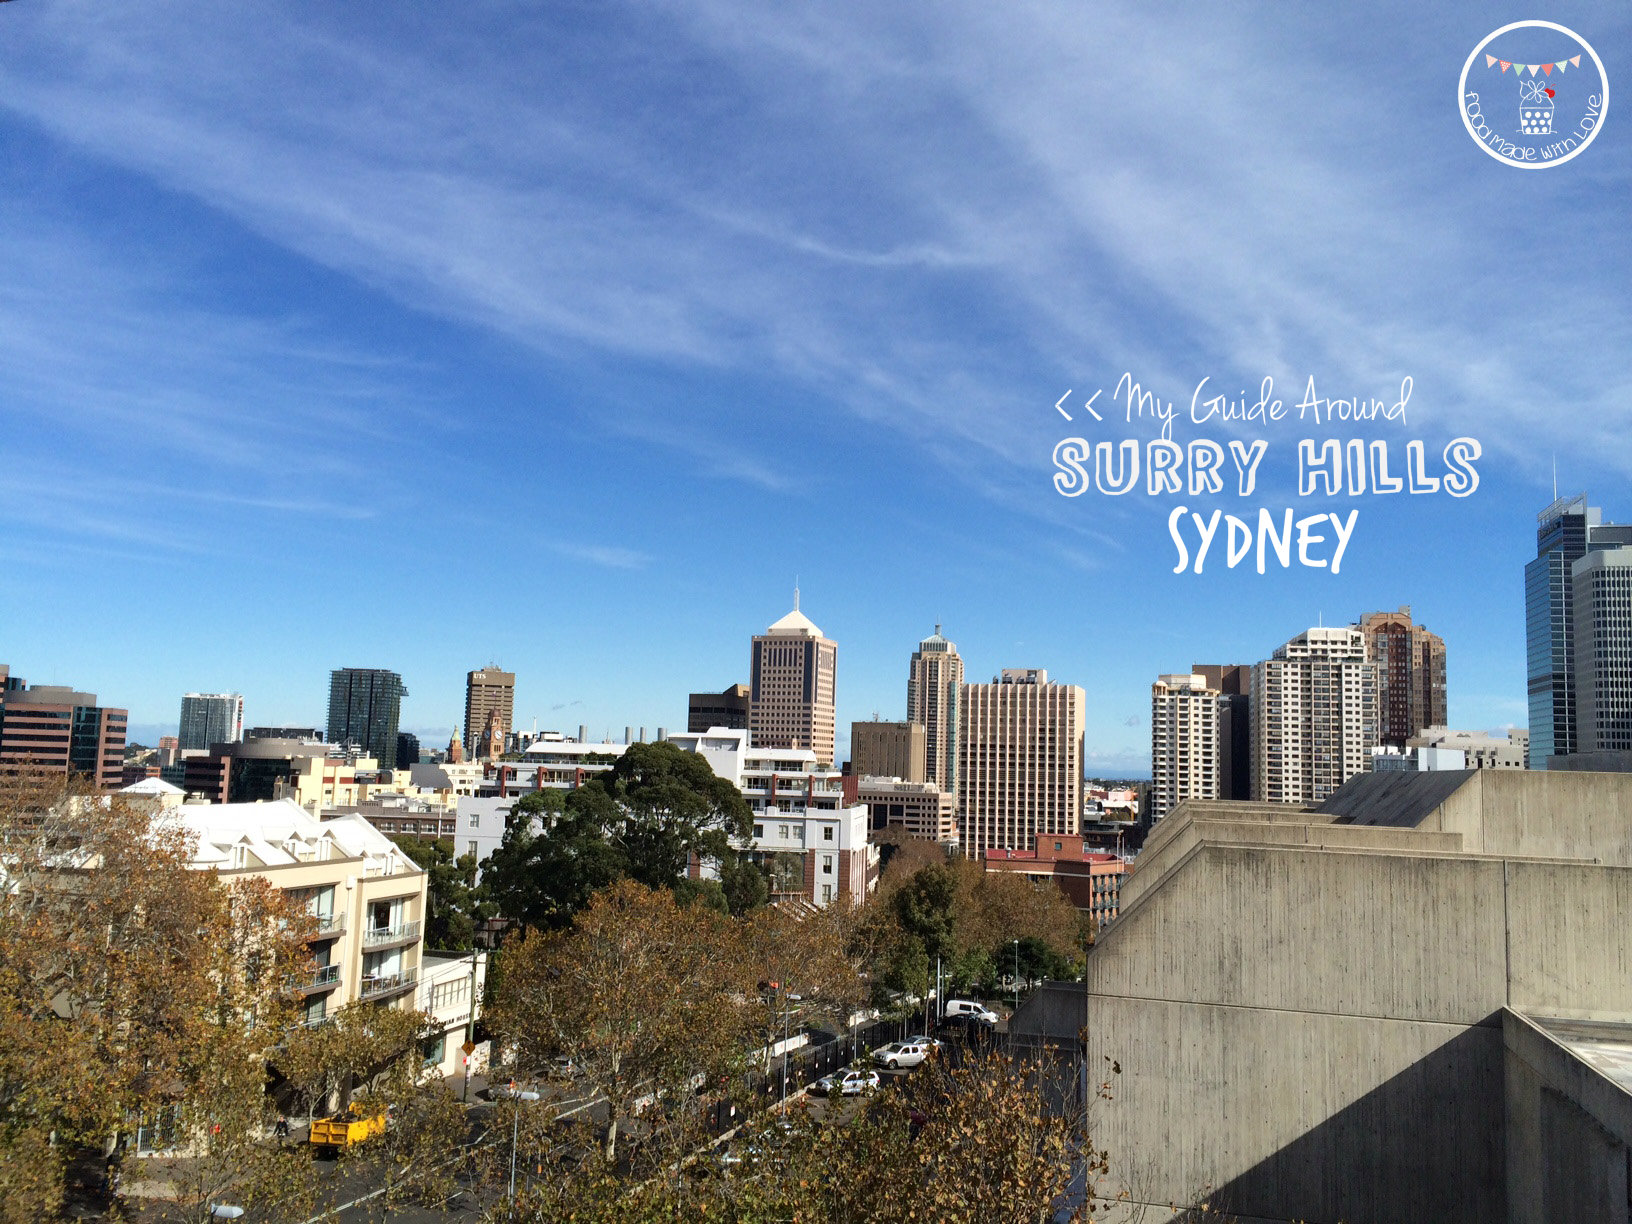
We were so lucky to be able to stay at Cambridge Hotel that is located at the heart of Surrey Hills. Everything was just a stone-throw away! In this post, I will be sharing with you the different places we dined at that were all located in Surrey Hills, and a walkable distance from the comfort of our hotel!

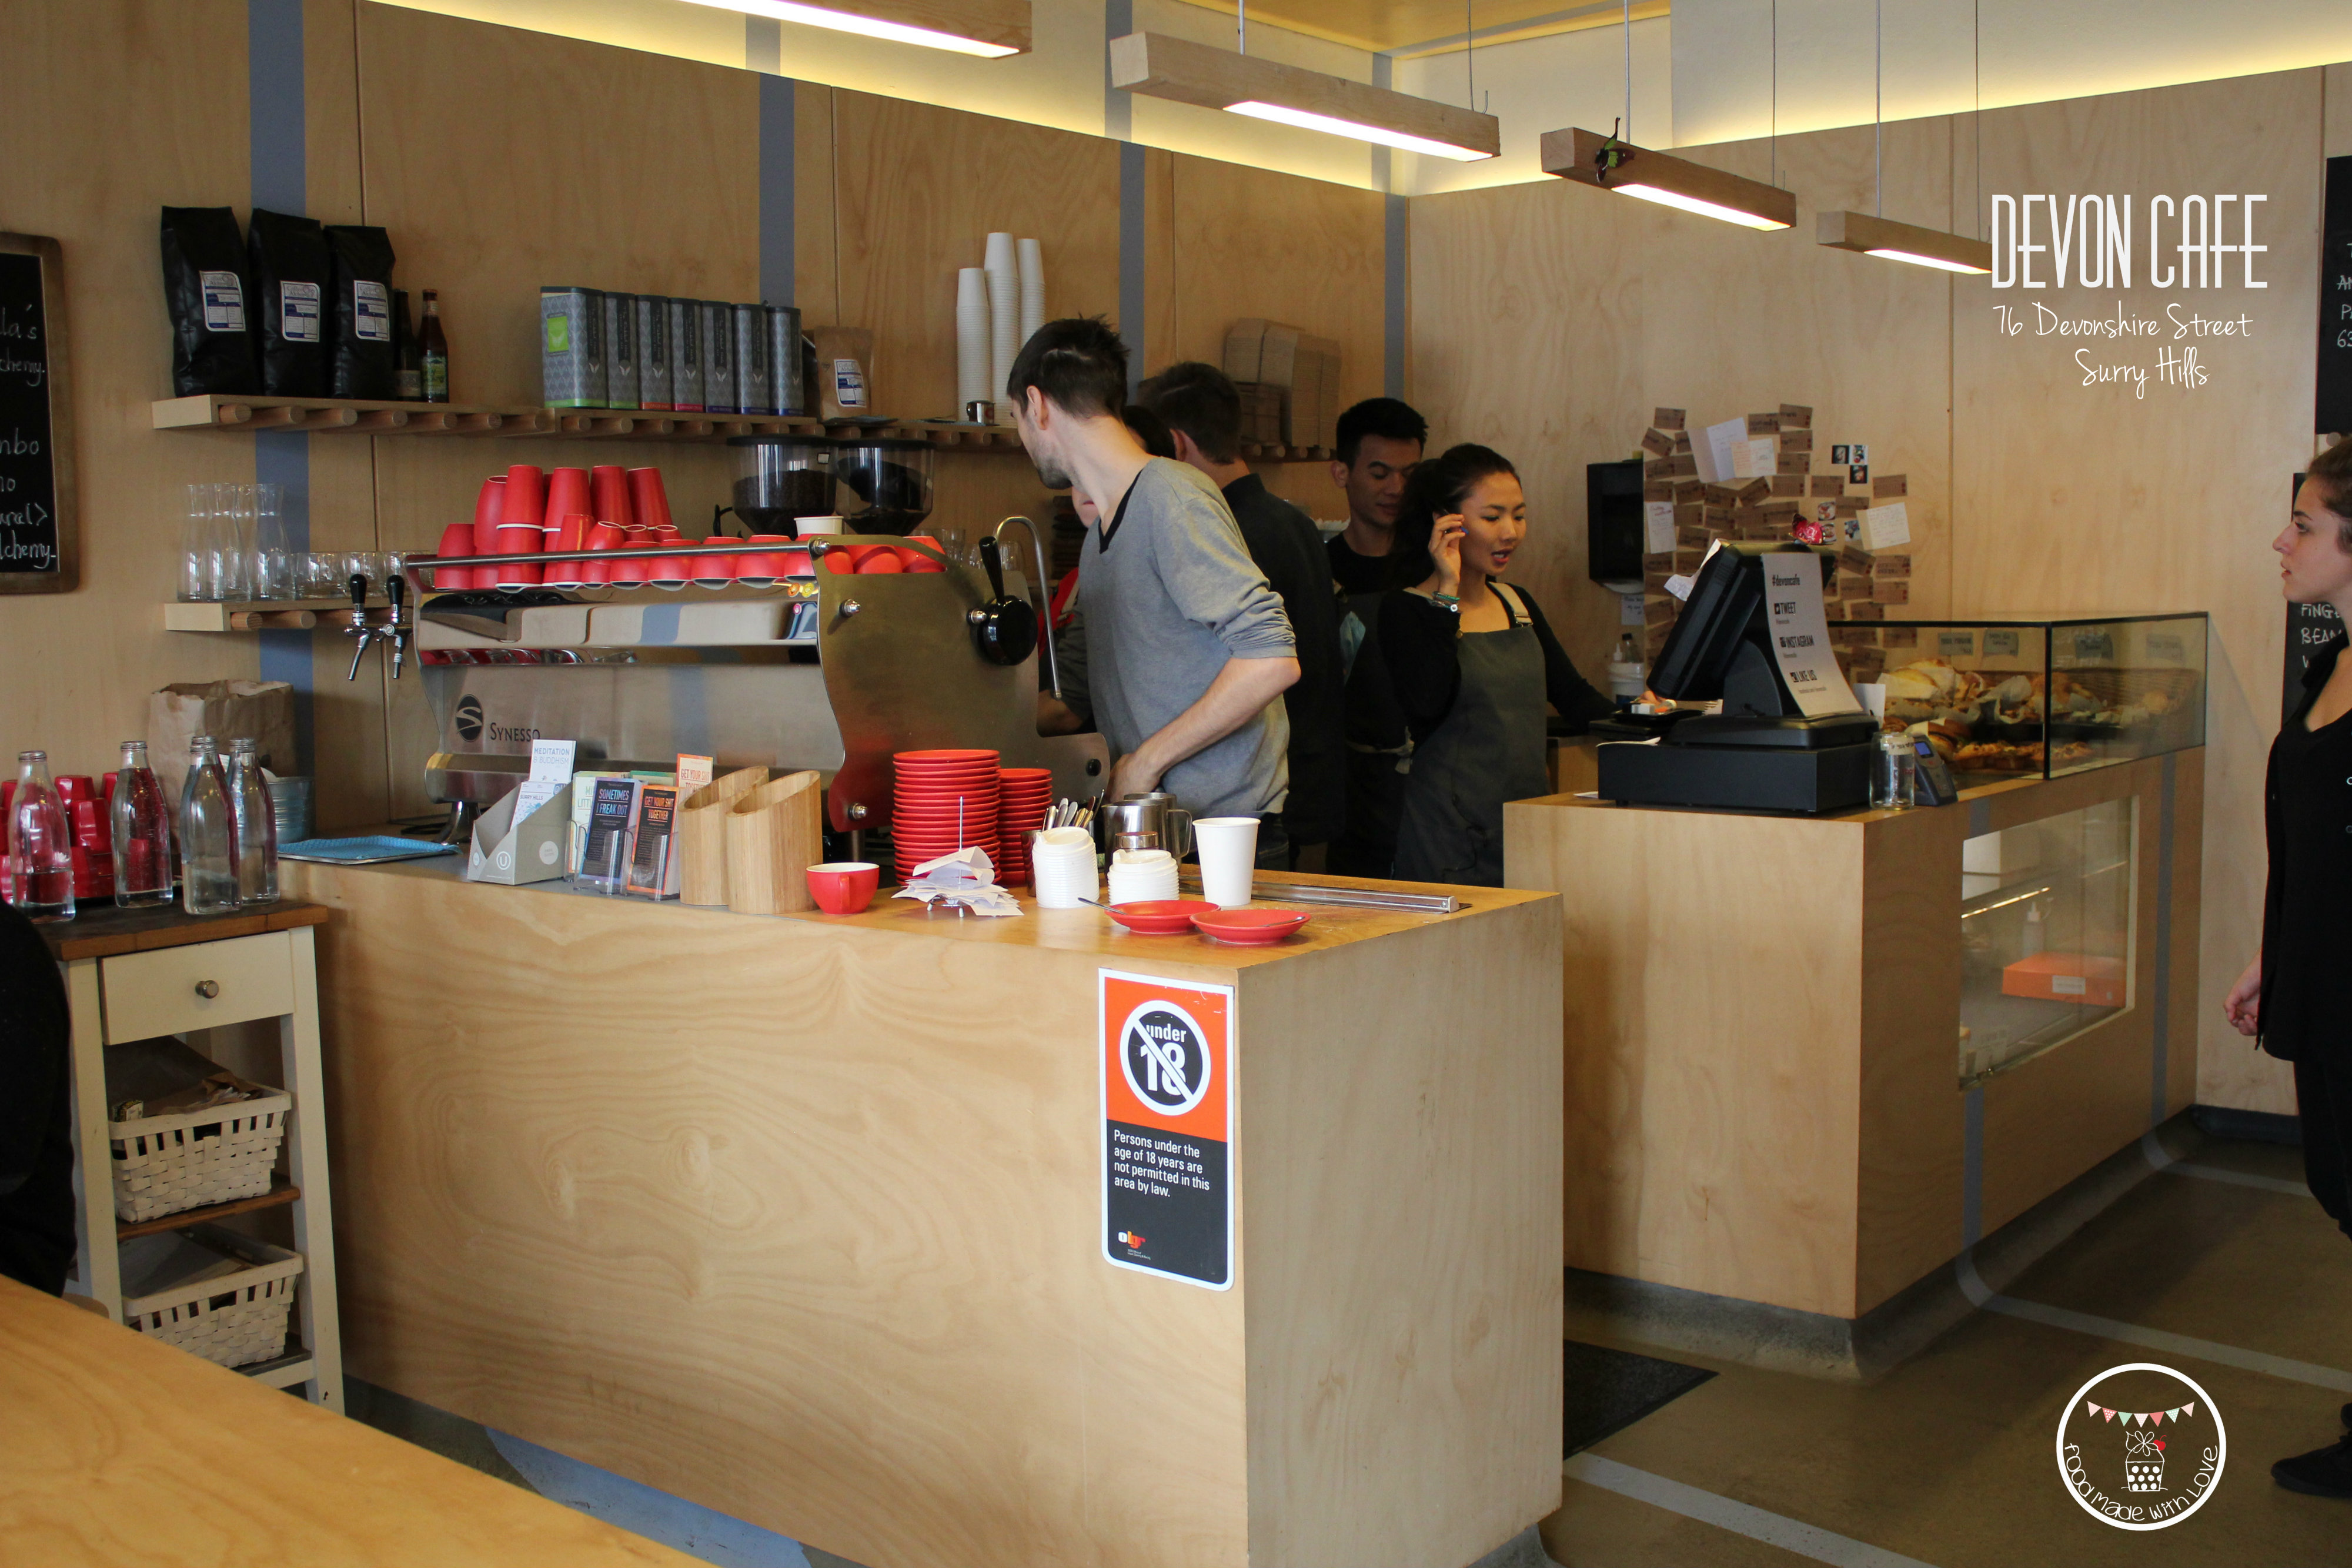
First stop : Devon Cafe

Devon Cafe

Of course, to maximise our stay, we took one of the earliest flight out and arrived early in the morning! haha As we were too early to check in to our hotel, we decided to stop by one of the cafes that has been on my list for the longest time for breakfast! Plus it was close to the hotel too! (:  We were greeted by the most enthusiastic and friendly staff which instantly brightened up our morning!

Muffins, pastries & burgers

If you wanted something light or quick, they had a good range of savoury and sweet on display! Croissants, muffins, brioche and tarts! Especially if you wanted something to pair with your coffee-on-the-go! hehe

Our usual cuppas

We started our breakfast with our usual hot cuppas! Chai soy latte for me, latte for the mr and hot chocolate for Melissa!

Chai soy latte

I absolutely loved the pot used to serve my chai latte! hehe It was so japanese inspired and wanted to smuggle it back! haha Of course I didn’t, I still wanted to head back to Devon Cafe when I am traveling in Sydney again. hehe

Chick n Chips

There were so many things on the menu that we were drawn to. Everything just sounded so delicious! Melissa was tossing between sweet or savoury, but decided on the Chick n Chips! When it arrived, the smell was AMAZING! I was salivating just inhaling the smells. haha It had a chicken sausage, crispy confit wing smoked potato, fried egg, jus gras, chicken skin and chips! Yes, crispy chicken skin! DELISH!

green eggs and ham

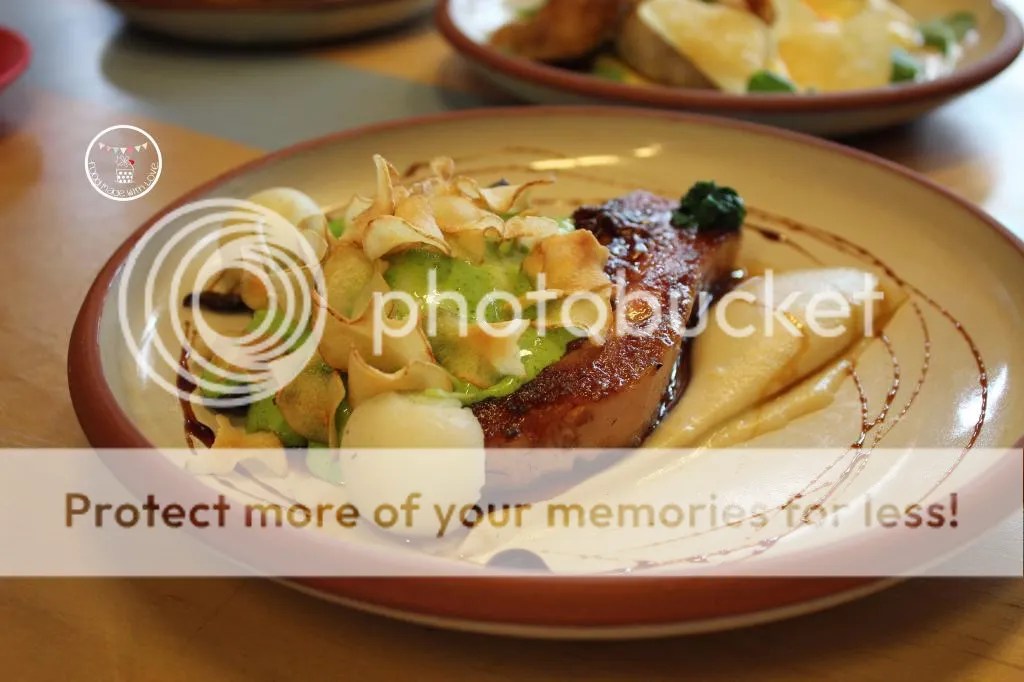
The Mr ordered the special of the day, and I could totally understand why! It’s a play on the typical green eggs and ham but definitely elevated to a whole new (and better) level and everything the Mr loves! Thick cut bacon, Jerusalem artichoke puree, 63 degree eggs with wild mushroom, parsley & garlic cream and topped with crispy Jerusalem artichokes! Absolutely delicious! The plate was close to being licked clean!

Devon's granola

I wanted to start the trip with something healthy, as I knew how indulgent I will be for the rest of the day! haha So I decided to order Devon’s granola! How pretty is it? hehe It has house made granola, vanilla yoghurt, poached pear and freeze dried raspberries!  Loved all the different colours and how the freeze dried raspberries just pop!

Devon's granola

Seeing how pretty it is is making me itch to make my own granola and have it for breakie!! Think I just might! (: So after a filling and satisfying breakfast, we decided to head over to Cambridge Hotel to check in!

Front Desk of Cambridge Hotel

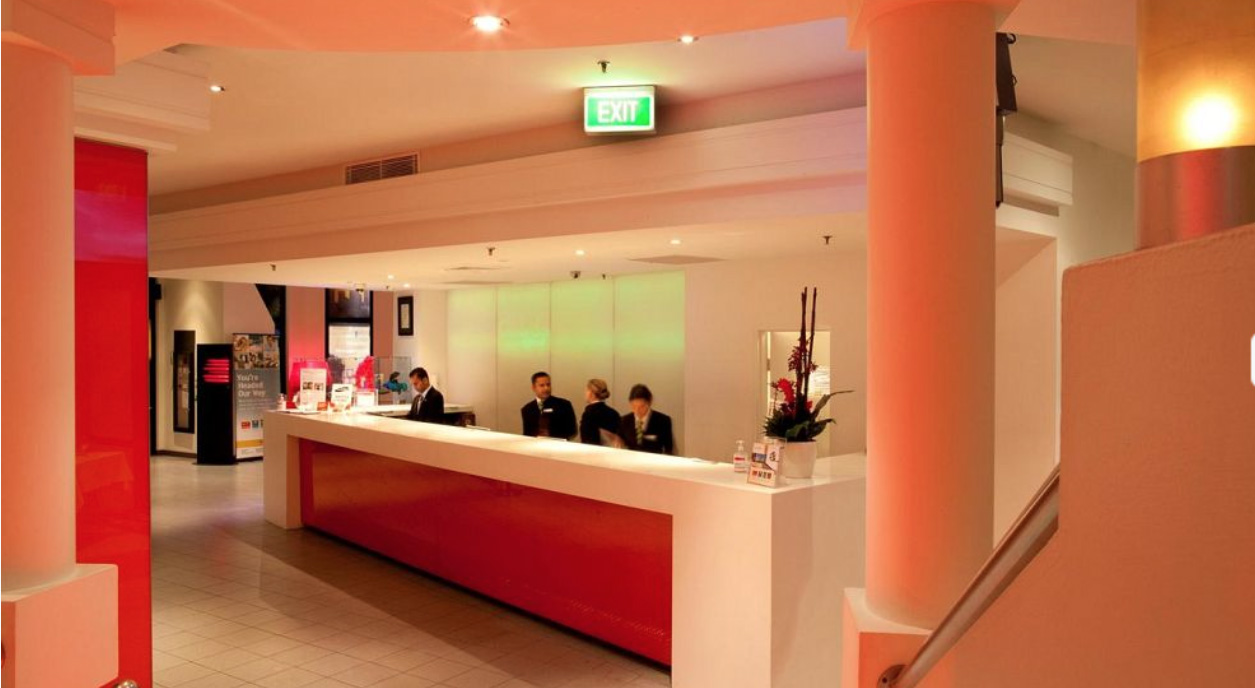
(Photo credits : http://www.cambridgehotel.com.au/)

When you enter the hotel lobby, you’re greeted by the smiles on all the faces of the staff! It took less than 10 minutes to get us all checked in and headed up to our room!

our room

How inviting are the rooms? Really spacious for the 3 of us too! This was the premium twin double room and our room had stunning views too!

Welcome chocolates

And how thoughtful are the staff at Cambridge Hotel? A box of handmade chocolates to warmly welcome us to our room and Sydney! Isn’t it the little things that really count and make an impact to your holidays? Love it!

Second Stop : Bourke Street Bakery

Address : 633 Bourke Street, Surry Hills

Opening hours : 7am – 6pm (Mondays to Fridays)

7am – 5pm (Weekends)

Bourke Street Bakery

After taking a short break (aka taking a power nap haha) we decided to walk to Bourke Street Bakery! I was so happy when I realised how close it was! Just a 15 mins slow walk brought us to this amazing bakery! It’s always pretty packed and there is always a queue, but it moves pretty quickly and trust me, it’s worth the wait!

Pork and fennel sausage rolls

Before going on to the sweets, we decided to have their sausage rolls! So glad we did though cause it was so so so so good! The pastry was flakey and buttery and the pork and fennel filling was absolutely delish! We shared as we wanted to have space for the sweets which we already aimed or while we were ordering the sausage rolls! hehe

Sweet pastries

The mr really wanted a croissant, but they only had the plain ones left! It was still really good though! No regrets getting it! hehe We couldn’t resist ordering the famous ginger creme brûlée tart, especially since the mr loves creme brûlée! And just when we were about to pay, a tray of freshly baked rhubarb frangipane tarts came out of the oven, so I had to get one! Trust me, nothing is better than a piping hot tart, fresh out of the oven!

Ginger creme brûlée tart

The ginger creme brûlée tart was nothing short of amazing! The short crust pastry was buttery and absolutely love how creamy and luscious the filling was! There was also a good hit of ginger, which the Mr absolutely adored! We may or may not have bought 2 more to bring back to our hotel. haha

Third stop : RoboCog Cafe

Address : 249 Riley Street, Surry Hills

Robo Cog

I absolutely love how the hotel is surrounded by small cafes, and all of them have something that would draw you in! Just down the road was a cute little cafe called Robocog which I had a cuppa with the gorgeous Heather (:

The inside of robocog

The interior was really warm, cosy and inviting. Their menu was in a shape of a robot (but I didn’t get to snap a shot of it, oops!) They had quite a spread food wise, but we were just there for coffee and to catch up!

Decaf cappuccino

I ordered the decaf cappuccino which had quite bold flavours but was smooth to taste! It’s been a while since I had coffee but still enjoyed it! I really love meeting up with people after only communicating over emails/instagram/twitter! Was an absolute pleasure!

Forth Stop : Chat Thai

Address : 20 Campbell Street, Haymarket

 Chat Thai

I know this isn’t exactly located in Surry Hills, but it’s a short 5 minutes drive or a 20 minutes brisk walk from the hotel! Chat Thai has been on everyone’s lips when they do head to Sydney and we didn’t want to miss having it! So off we went, in the cold, and walked there for dinner one night!

Cute lights

Although we went around 615pm (which I thought was quite early), we still had heaps of people infront of us and we waited for a good 40 minutes for our table! Fortunately there were a few thai supermarkets which we could pop in to have a walk or when we felt too cold to wait outside! When it got colder, the staff brought out the gas heater, which definitely made the waiting less painful!

papaya salad

We started our meal with a bang! A huge chilli hit! The papaya salad (som dtum) was so spicy I could only have one portion! Don’t get me wrong, it was delicious, but just too spicy for me. I think we could have let them know the level of spice, but we didn’t and we were given the maximum one! haha

Grilled pork neck

This was my favourite dish of the night. Grilled pork neck (khor mhu yaang) with smoked chilli and tamarind relish! The pork neck was so tender and the sweet & sourish relish complimented each other really well. A must order dish if you ask me! (:

Thai green chicken curry

When we have thai, it’s a must to order a bowl of green curry as well! This was the thai green chicken curry with apple egg plants, kaffir lime leaves and basil! So fragrant and just the right amount of heat! Could easily finish a bowl of rice just with the curry gravy! Mmmm!

dtom yum goong with king prawns

The dtom yum goong with king prawns had the most intense and amazing flavours! Every sip tasted like prawns! SO GOOD! We couldn’t stop saying WOW. haha In fact, we were still talking about it the next day!

photo-0-1

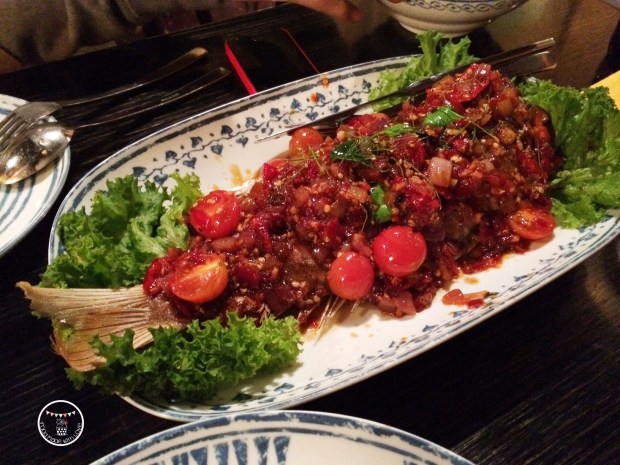
The last savoury dish we ordered was the crispy fried whole snapper with a roasted chilli and garlic sauce. When it arrived, we all thought we were in for another spicy journey haha But it actually was a good balance of sweet & spicy! The fish was also cooked perfectly. NOMS!

Durian sticky rice

We were so stuffed by the time we polished off the savouries, but the Mr couldn’t resist ordering the durian sticky rice! We did want the mango sticky rice, but mangoes weren’t in season. So durian it is! Many might not like this King of the Fruits, but we absolutely adore it! Creamy and sweet, we finished it too quickly! hehe

Fifth Stop : Bills

Address : 359 Crown Street, Surry Hills

Bills

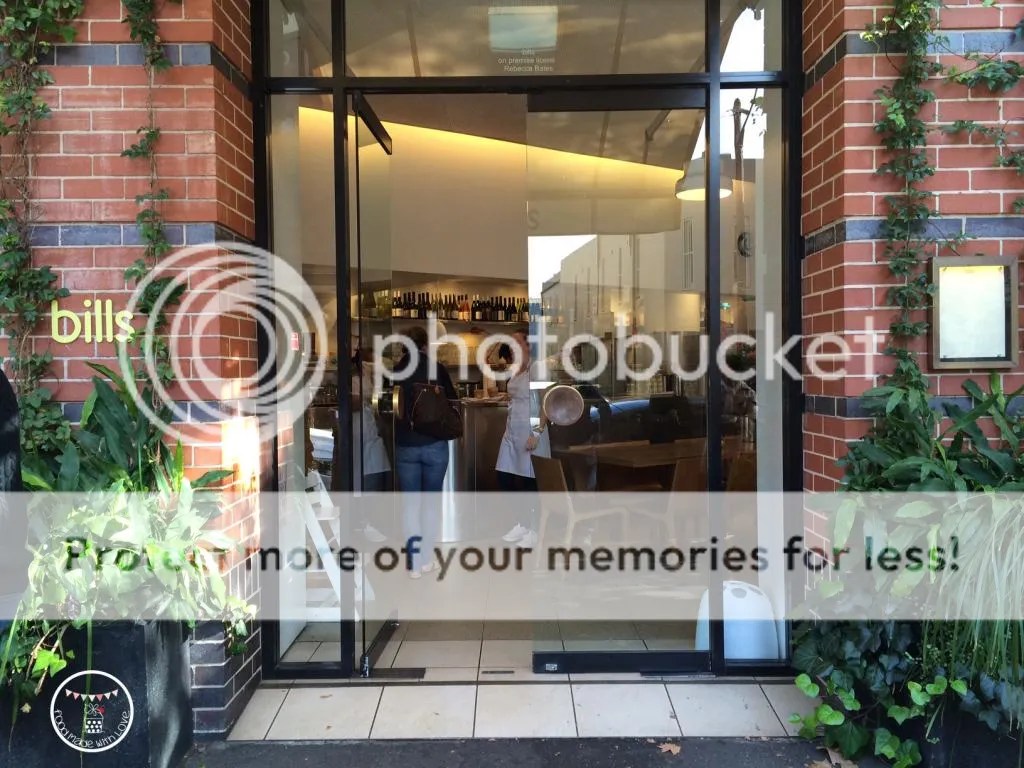
Last and definitely not the least, Bills. I remember the first time I came to Sydney, the only place I wanted to try then was Bills. This time was no different. Bills was still on my to-go list and one thing I wanted to have was the fluffy ricotta hotcakes! We went around 1030am and had to wait for a good 45 minutes. But is it worth the wait?

Ricotto hotcakes with banana and honeycomb butter

ABSOLUTELY! Look at how fluffy the hotcakes are??? Piping hot with bananas and a honeycomb butter and a drizzle (or a heap haha) of maple syrup! YUMMO! I just couldn’t stop eating!

Ricotta hotcakes

Oh my gosh. I’m having some serious hotcakes pregnancy cravings this instant! hehe They are seriously amazing. You definitely have to make a trip there when you are in Sydney or around Surry Hills! Head there early if you want to reduce the queueing time!

Bills

The place was constantly crowded but the staff still wore smiles on their faces! Love it!

Hot chocolate

I was so excited about the hotcakes I forgot to talk about the drinks we had! Melissa ordered the hot chocolate and boy was it good! It was made by coating the bottom and sides of the glass with chocolate buttons and pouring hot milk in! Ooh lala! She was definitely one happy girl! hehe

Beet root juice

I decided to go for something healthy and refreshing – Beet root, carrot, fennel & apple!

I really hope you enjoyed my eating journey around Surry Hills! Our bellies were definitely happy through the 3 days we had in Sydney. Just want to thank the Mr for planning the trip, Heather for helping with the accommodation and Cambridge Hotel for the comfortable stay we had for the 2 nights!

Have a great week ahead everyone! Remember to always cook and bake with love!

Till the next post, xx

Salted Caramel Creme Brûlée

photo 4-1-1

Whenever I’m deciding what to cook or bake, my inspiration always comes from my loved ones and what they like to have, or what their favourite cuisine or flavours are. Of late, I have to admit that I cook according to what Baby Ho (& I) crave for and thankfully the Mr and sister-in-law are really easy and wouldn’t mind having what I’m craving for! PHEW! So so blessed! But last week, I decided to make something inspired by what the Mr loves and with a twist, using his favourite dessert & flavour – creme brûlée & salted caramel!

salted caramel creme brûlée

I have to say I was really nervous making creme brûlée again, cause the last time I made was a long time ago and usually they kinda curdle a little, and never comes out as smooth as I wish they would. But I decided to give it another go, and waited with my fingers and toes crossed while they were baking in the oven! hehe

I couldn’t be happier with how it turned out! Smooth, luscious and with a good kick of the salt! Not overly sweet too! The Mr was all smiles and because I didn’t wanna have too much sugar, he had his and half of mine! hehe Of cos, the best bit was so hear the crack of the burnt sugar on the top!

So here’s the recipe and I hope you all enjoy it as much as we did!

Salted Caramel Creme Brûlée

600ml thickened cream

6 egg yolks

1 egg

1 vanilla pod

120g caster sugar, plus extra for the brûlée

1 tsp fleur de sel (or sea salt if that’s what you have)

Steps :

1) Preheat over to 115 degrees celcius.

2) In a small pot, pour the thickened cream in. Split the vanilla pod into half, lengthwise, and scrape the vanilla bean into the cream. Throw the pod into the pot as well and bring it to a slow boil. Allow the mixture to simmer for 10 minutes so that the vanilla pod and beans would infuse into the cream.

3) In another pot, heat the sugar on medium-high heat, swirling it to incorporate the rest of the sugar. Watch closely so that the caramel doesn’t burn. Once the caramel is a beautiful amber colour, take it off the heat and pour the cream into the pot. Do be very careful as the mixture will still bubbling! Whisk continuously to make sure the caramel and cream is well combined. Add the fleur de sel and give it a good stir to ensure the salt combines with the caramel cream mixture.

4) In a large glass bowl, crack the egg and add the egg yolks. Whisk well and slowly pour the salted caramel cream in a slow and steady stream. Make sure it’s not added too quickly, as it will scramble the eggs. Whisk continuously as you add the caramel cream  and strain into a measuring jug.

5) Pour the mixture into small mason jars (my mixture was enough to fill the 1/2 way mark of 6 jars) and place the jars in a roasting tray.

salted caramel creme brûlée

6) Fill the tray with hot water until it reaches 1/2 of the jars and slowly place it into the oven. Bake the creme brûlée for 45 minutes or until it’s just set but still wobbly in the middle. Take the jars out of the water bath and allow them to cool completely before placing them in the fridge for at least 3 hours or overnight.

7) To serve, sprinkle some caster sugar on top of the creme brûlée and using a blow torch, burn the sugar till it caramelises and is a dark brown colour.

salted caramel creme brûlée

ENJOY!

Have a great night everyone and remember to always cook and bake with love! xx

I Scream, You Scream, We Scream for Harry’s Ice Cream!

Harry's Ice Cream

As the weather gets warmer, isn’t there just one thing that is always on your mind? It definitely is for me! Ice cream!! I was so excited when I was invited to the exclusive factory tour of Harry’s Ice Cream!

A beautiful setting of table of goodies

Upon arrival at the factory, we were greeted by a beautiful table with canapés, macarons and a blueberry-lemonade-vodka cocktail! Mmmm! Delish! And how pretty is the bunting?? Gosh, I am obsessed with them! hehe

mini smoked salmon bagels and pea tarts

The mini treats were so delicious! Never seen such small bagels before! They were stuffed with smoked salmon, cream cheese and capers! I couldn’t stop at one. haha The pea tarts were surprisingly yum! I am never one for peas, but these were soft and sweet (in a savoury kind of way haha)!

mini chicken sandwiches and blue cheese and fig tarts

How cute are these mini chicken sandwiches? Never seen such small loafs before!!! Next to them drew my attention immediately! Do you know why? hehe Because of the dried figs!!! and they go so well with the blue cheese on the puff pastry base! Mmmmm!

Cocktails in mason jars

Cocktails in mason jars

We were so spoilt that day and were even given cocktails served in mason jars and with a polka dotted paper straw! It had a really good tang to it cause of the 40 lemons that were hand squeezed into the large jar dispenser! hehe Loved the tinge of pink it had too! Such a girlie drink! I have to admit, I almost wanted to take one of the jars home! haha

Lawrence - Owner

While we were enjoying the little nibbles, we were introduced to the brains behind Harry’s Ice Cream – Lawrence! He shared with us the history and how Harry’s Ice Cream came about. So here are some fun facts : They first started making ice cream in 1994 and sold them in stores. The first one is at Chadstone and this carried on till 1999. By then, they had 12 stores and they decided to open the Harry and Larry’s factory! They do supply to supermarkets under different brand names, but decided to come up with Harry’s that did exclusive flavours!

Lawrence and Tony

We were then introduced to the head of the ice cream maker, Tony, who would be bringing us for the factory tour as well as explaining to us the whole magical process!

Group photo at Harry's

(Photo credits : Harry’s Ice Cream)

But before we could enter the factory, we had to gear up and sanitise our hands so that we keep the area as clean as possible! haha Don’t we look good in our hair nets? haha We were ready to roll!

The inside of the factory

It was pavlova day at the factory that afternoon! So the team was high in production! Just tubs and tubs of ice cream being filled and capped, then stored in the freezer!

Making ice cream

Then the fun part started! We were brought to a smaller scale ice cream machine to make the flavour that Ling came up with : White chocolate and mixed berries ! It was such a phenomenal process, from the pasteurised custard to the adding of the mixed berries, and viola! Ice cream!!

Ling's white chocolate and mixed berries ice cream

How pretty is the colour? It was velvety smooth too! All contained and ready to be frozen so that we could taste a little later on!

The filling machine

On a larger scale, these filling machines fill up to 51 tubs per minute! It was so amazing to see it at work!

Ice cream tubs getting sealed

All filled and ready to be frozen

The pavlova flavour had an amazing passionfruit curd swirled into the custard and we could smell it from a mile away! They make up to 3600 litres of ice cream per hour and 68000 tubs of ice cream in 2 hours!!! WOWZER!

After the tour, I definitely couldn’t wait to get some tasting done! hehe

tasting and judging

We were also going to do some judging! Before the event, we were asked to come up with an ice cream flavour so that Harry’s could make it and we could taste and judge which flavour we loved! Before this, I never knew how ice cream was judged in a professional setting! There were three criteria for judging : flavour & aroma, texture & body, and presentation!

Jenny

Jenny is the official taster at Harry’s! She has the best job in the world of making sure all the ice cream is of the right taste, consistency and appearance! She explained to us the process of judging at an ice cream competition and then the tasting began!

Harry's ice cream

First up, the three Harry’s ice cream flavours! My favourite of the day is the Pavlova! It had bits of crushed meringue in it and every bite had lots of it! Gave it a really good texture and of course the flavours were spot on! Mmmmm

Our creations

Then it was time to taste the flavour we each come up with! I was super excited!!! Everyone had such great flavours and totally different too!

Pistachio, rose water and honey

The flavour I came up with was inspired by one of my favourite desserts of all time : the baklava! And if you don’t already know, I love pistachio! So when I was given the chance to come up with an ice cream flavour, I just had to give this combination a go! Pistachio, rose water and honey! I was so glad they added more crushed pistachio on the top of the ice cream, not just for presentation but also for texture! It was SO GOOD! The people working at Harry’s are just amazing!

Winner!

And guess what?? My flavour won!! Everyone liked it so much and it scored the highest! Whoopeedoo! hehe I was so surprised but was so happy! hehe Everyone did so well though! All the flavours were delicious!

Take home box!

The best thing was : take home tubs for everyone!! We had 6 each to bring home! 3 of their signature flavours and 3 of ours! hehe I was so excited that I gave one to Peggy on my way home! hehe The mr couldn’t wait to dig in to all the tubs too!

testing table

I had such a great time learning about the process of making ice cream and of course being able to taste not just the unique flavours that they have and also the flavour everyone came up with! (:

Thank you so much Harry’s Ice Cream and Keep Left PR for this amazing opportunity! It was such a fun event and I definitely recommend you to go try the Harry’s Ice Cream if you haven’t already tried it!

UPDATE :

Harry’s Ice Cream likes the flavour combination so much they are sharing the recipe to make it! Here’s the link and hopefully you’ll give it a try!!!

http://thenewdaily.com.au/life/2014/07/01/homemade-rosewater-pistachio-and-honey-ice-cream-recipe-harrys/

Disclaimer : I was invited to tour the Harry’s Ice Cream factory as a guest of Harry’s Ice Cream and Keep Left PR. Thank you once again or this wonderful experience! 

Hazelnut Olive Oil Cake

Hazelnut Olive Oil Cake

Hooray! It’s the weekend so let’s celebrate with cake! What better way yes? heh I don’t think anyone can really resist cake, even more so when it’s a gluten free and (almost) healthy one!

Is there a particular cake that you will never get tired of and would always go-to cause you know it will not fail you? I definitely do! This is one cake that I know that would definitely be a crowd pleaser! The chocolate olive oil cake by Nigella Lawson is simple, delicious and did I say delicious? Whenever I need to make a birthday cake for a close friend, I always turn to this recipe, top them with fresh raspberries and dust with icing sugar and viola! All ready to be consumed and put smiles on people’s faces!

All along, I’ve made it using almond meal, but I few weeks back when I needed to bake a cake for a close friend’s 21st, I had a eureka moment. Why not use hazelnut meal? It would be like a fudgey and moist… nutella cake! How good does that sound? I was so so excited to give it a try!

And it came out just the way I envisioned it to be. Soft, really chocolatey, and so fudgey and moist! OOhhh la-la! It can definitely make one of the sexiest and most decadent chocolate dessert that I’ve ever made! The hazelnut meal elevated it to a whole new level! Definitely gonna stick to using hazelnut meal now. hehe One slice is never enough!

So give this a shot if you love nutella. You will definitely be hooked! It’s gluten free and if you are on a paleo diet, just change the sugar to 1/3-1/2 cup honey and you’re good to go!

Hazelnut Chocolate Olive Oil Cake (adapted from Nigella Lawson)

150 ml regular olive oil (plus more for greasing)

50 grams cocoa powder (good quality, sifted)

125 ml boiling water

1 tsp vanilla bean paste

150 grams hazelnut meal

½ tsp bicarbonate of soda

pinch of salt

170 grams caster sugar (or 1/3-1/2 cup of honey if you want it to be paleo)

3 eggs, room temperature

1 small punnet of fresh raspberries (to top the cake)

Icing sugar, to finish

Steps :

1. Preheat your oven to 170°C/gas mark 3. Grease your springform tin with a little oil and line the base with baking parchment. Measure and sift the cocoa powder into a bowl or jug and whisk in the boiling water until you have a smooth, chocolatey, still runny (but only just) paste. Whisk in the vanilla extract, then set aside to cool a little.

2. In another smallish bowl, combine the hazelnut meal with the bicarbonate of soda and a pinch of salt.

3. Put the sugar (or honey), olive oil and eggs into the bowl of a freestanding mixer with the paddle attachment and beat together vigorously for about 3 minutes until you have a pale-primrose, aerated and thickened cream. Turn the speed down a little and pour in the cocoa mixture, beating as you go, and when all is scraped in you can slowly tip in the hazelnut meal mixture.

4. Pour this dark, liquid batter into the prepared tin. Bake for 40-45 minutes or until the sides are set and the very centre, on top, still looks slightly damp. A cake tester should come up mainly clean but with a few sticky chocolate crumbs clinging to it.

5. Let it cool for 10 minutes on a wire rack, still in its tin, and then ease the sides of the cake with a small metal spatula and spring it out of the tin. Leave to cool completely and place the whole punnet of fresh raspberries neatly on the cake and dust with icing sugar. Serve with a side of freshly whipped cream or a scoop of your favourite ice cream!

Have a chocolatey and hazelnutty weekend everyone! (: Be warned that you won’t be able to stop at a slice for this one! hehe

Remember to always cook and bake with love! Till the next post, xx !

Being Bold – A Recipe & Hudsons Giveaway ! {Winners Announced}

Be Bold

Good afternoon my dear readers! Happy weekend! (: Hope it’s going well and you have lots of fun and yummy things planned ahead of you! Since it’s the start of Spring, I thought it would be a good time to make some new goals!

“Freedom lies in being bold” – Robert Frost

Being bold is about making each day count (be it today, weekly or even for the year), so why not step out of your comfort zone and express your boldness to the world right? hehe The first BOLD thing I’ve decided to do is trying my hardest to make a change in my life – Being healthier and fitter ! My goal couldn’t come in a better time, as Hudsons Coffee also decided to BE BOLD with their launch of a new Barista’s  Choice Blend – A rich and intense flavour with caramel undertones. YUM!

Hudsons Coffee Barista's Choice Blend

I was lucky to receive a a pre-ground take home bag of the new blend and I couldn’t wait to try it! Ever since my brunch at Three Bags Full, I have started a liking to french press coffee! This one wasn’t overly strong on the palette and not too sharp or acidic either! Smooth and a subtle taste of caramel, which the mr loved!

Barista's choice

While enjoying my glass of coffee, I had a eureka moment! I really wanted to use it to bake! One particular ingredient came to mind – Banana! So I decided to combine the banana cake with some espresso, and to add some texture to the cake by adding a pecan streusel on top! I have made lots of banana cakes in the past, but never one with a coffee kick! This is me BEING BOLD (number 2) cause I don’t usually bake coffee cakes! So was really excited about this.

Banana Espresso Pecan Streusel Cake

While making the streusel, I couldn’t stop sneaking teaspoons of it, cause it was so addictive! The combination of pecan and oats were just delish! hehe It could easily be turned into a mixture for granola too!

close up

Although I am trying to get healthier and fitter, I still deserve the occasional treats yes? hehe So I added some dark chocolate chips in the cake to make it more indulgent! Anyway, dark chocolate is suppose to be good for you. I’m pretty sure there’s some scientific findings to back me up on this. haha

Slice of banana espresso pecan streusel cake

This cake was moist, full of flavour, and I just love having the bursts of chocolate and the crunch of the streusel top! Definitely one cake I would bake over and over again! You don’t need a very big piece to enjoy it, as it is quite rich. A small piece with a cup of tea or coffee is perfect!

Banana Espresso Pecan Streusel Cake (A Food Made With Love Original Recipe)

For the streusel :

1/2 cup + 2 tbs plain flour

1/2 cup rolled oats

1/2 cup brown sugar

1 tsp salt

85g unsalted butter

3/4 pecans, roughly chopped

Steps :

1) Mix the flour, rolled oats, brown sugar and salt in a medium bowl.

Adding the dry ingredients to make the streusel

2) Add the butter and rub with your finger tips intul the mixture holds together (my favourite thing to do actually, find it very therapeutic! haha).

3) Add the chopped pecans, mix and set aside in the fridge.

Pecan streusel topping

For the cake :

200g unsalted butter

170g castor sugar

4 eggs

1 tsp vanilla bean paste

4 tbs milk

5-6 tbs espresso (I used the Barista’s Choice Blend from Hudsons Coffee)

2 cups + 3 tbs plain flour

1 tsp bicarbonate soda

1 tsp baking powder

3-4 bananas, mashed

3/4 – 1 cup dark chocolate chips

Steps :

1) Preheat oven to 160 degrees C. Prepare a 26cm by 26cm square tin by lining the bottom and greasing the sides. Set aside.

2) In a mixing bowl, cream the butter and sugar until light and fluffy.

3) Add the eggs, one at a time, and mix until well combined. Add the vanilla bean paste and the mashed bananas. Mix till it is evenly mixed.

4) Mix the espresso and milk in a measuring cup and add it alternately with the plain flour (dry-wet-dry-wet-dry sequence). Careful not to over mix.

5) Pour the mixture into the prepared tin and tap it a few times on the bench to make the top even. Sprinkle the streusel and bake for 1 hour or until the top is golden and the toothpick comes out clean. Cover the cake with foil after 30 mins if it browns too quickly.

Ready to go into the oven

6) All it to cool in the tin for 10 minutes and remove it from the tin to rest it on the cooling rack.

all baked and cooled, ready to be sliced and enjoyed

Enjoy! (: It was my very first cake I was confident enough to bring to work and share with my colleagues, and they loved it! (: I brought it in during recess and it was gone by lunch! The feedback was that the cake was really moist and they really liked the surprise of the chocolate chips! Yippee!

So here comes the exciting bit! Tell me how you are going to BE BOLD and take that first step of making a positive change in your life! I’ve taken two, the first one will be on-going and the second one is completed, so I would love to hear your side of the story!

Hudsons Gift Package

Hudsons Coffee and Keep Left PR has been so generous to provide me with two packs of goodies to give away. Similar to what I received, each pack includes : 2 packets (50g each) of pre-ground Barista’s choice beans, 1 (12 oz) Hudsons Keep Cup and a  $10 voucher to enjoy a hot cuppa when you’re around a Hudsons store! So how do you win this awesome pack?

To enter this giveaway :

  • All you have to do is leave a comment letting me know : What kind of BOLD change(s) you want to make in your life. Remember it can be a daily, weekly or even a year long goal! Come on and let’s #BEBOLD together!
  • This giveaway is only open to Australian residents! (Sorry international readers!)
  • Follow me on Facebook, Instagram & Twitter, and let me know when you’ve done it!
  • Follow Hudsons Coffee on Facebook,  Instagram & Twitter as well!
  • Winners will be drawn on the 22nd of September 2013, Sunday at 8pm!
  • You may re-enter daily, one entry a day (Woohoo!)
  • Winners will be picked via random.org and notified on this blog post and via email.

Good luck and have a great weekend ahead! (:

Remember to always cook and bake with love!

Disclaimer : This post is sponsored by Hudsons Coffee & Keep Left PR. I tasted the Barista’s Blend coffee with compliments of both sponsors, however, the review, opinions are honest and based on my personal taste and preference. The recipe is a Food Made With Love original.

~~~~~~~~~~~~~~~~~~~~~~~~~~~~~~~~~~~~~~~~~~~~~~~~~~~~~~~~~~~~~~~~~~~~~~~~~~~~~~~~~

And the winners are…..

Iron Chef Shellie & Bonnie-Kate !! Congratulations!!!! I will be contacting you through email soon! x

Winner number 21

winner number 21 -  Comment

Winner number 18

Winner number 18 - Comment

Congrats again you two and hope you both enjoy your packages! Thank you everyone for your comments again and till the next post, x

Eggless & Vegan Banana Bread

Eggless and Vegan Banana Bread

Banana cake. Who doesn’t love a thick slice of warm banana goodness?? I could have it for breakfast, tea or dessert! Actually, I could have it at any time of the day. I have done my fair share of baking different kinds of banana bread. Looking back on what I’ve shared, I’ve done a walnut, chocolate and maple banana bread and a sour cream maple banana cake. One that I never thought I would try is a vegan version of banana cake!

Eggless & vegan banana bread

To be honest, I never thought of making a cake without eggs before! But after I saw the post on OvenHaven (super duper talented, check her blog out! hehe) I knew I had to give it a try! What more when it’s actually really healthy? hehe This would be perfect for your kids and children with or without allergies! hehe The cake came out so moist, soft and light! It was just filled with banana with every single bite! Absolutely divine!  Especially when it’s warm! I had mine with some butter and also I had it for dessert with a scoop of my homemade salted caramel ice cream! Yummi-li-cious!!! So give it a try if you’ve never made anything eggless or vegan like me, and be delightfully surprised! hehe

Eggless and vegan Banana Bread (Adapted from Veg Recipes of India)

4 ripe large bananas

1 1/2 cups plain flour

2/3 cups olive oil

1/2 cup fine brown sugar

1 tsp vanilla bean paste

1 1/2 tsp baking powder

1/2 tsp baking soda

Steps :

1) Preheat the oven to 180 degrees celcius. Grease a bread/loaf tin with some olive oil.

2) Mash the bananas and place them in a mixing bowl. Add the olive oil, vanilla bean paste and sugar  and blend till well combine.

3) In a separate bowl, combine the plain flour, baking powder and baking soda. Add it into the mixing bowl, 1/2 cup at a time. Slowly mix them till well combined.

4) Pour the mixture into the prepared bread/loaf tin and bake for 30-40 minutes or until a toothpick inserted to the middle of the bread comes out clean.

5) Allow it to cool for 10 minutes in the bread/loaf tin before you turn it out onto a cooling rack. Slice and serve warm with butter or a scoop of ice cream. ENJOY! (: Cling wrap the rest of the bread and keep it in a tupperware in the fridge.

eggless and vegan banana bread with salted caramel ice cream

The next time I make these, I’m gonna put some walnuts, sunflower seeds and maybe some chocolate chips! hehe There’s nothing better than the combination of banana and chocolate! Do give this a try! I am very sure you will love it! Have a great and blessed Sunday! (:

Remember to always cook and bake with love!