recently.
Baby was asked to cook for Jacky and his crew
as he was going to use our living room for his film! hehe
and it was the first time we got to see Jacky in action! haha
he was the director. it was really quite cool (:

so anyways.
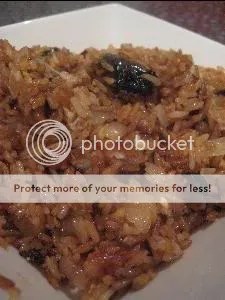
baby decided to cook something he thinks everyone would enjoy
and was quick to whip up so that they won’t go all hungry hehe

haha how cute are the chicken drumsticks?
it’s the only way we could fit all 35 of them (:
so here’s the recipe!
hope you guys would enjoy it!
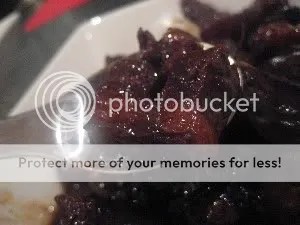
sticky baked chicken drumsticks
(Adapted from Healthy Appetites by Gordan Ramsay)
Serves 5
olive oil
10 chicken drumsticks
salt and black pepper
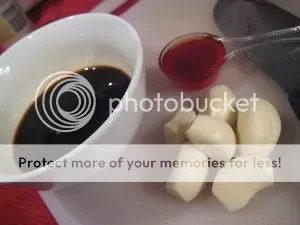
Glaze :
6 tablespoons honey
3 tablespoon fish sauce
1 1/2 tablespoon light soy sauce
juice of 1 1/2 lemons
3 tablespoons rice wine vinegar
1 1/2 tablespoons sesame oil
Steps :
1. Heat the oven to 200°C/Gas 6. Lightly oil a large baking dish.
Season the drumsticks with salt and pepper and arrange in the dish in a single layer

2. Drizzle over a little olive oil and use small pieces of aluminium foil to wrap around the ends.
Bake in the hot oven for 20 mins.
3. Prepare the glaze in the meantime.
Mix all the ingredients together in a small bowl until evenly combined.
4. Take the chicken out of the oven and pour over the glaze to coat each drumstick.
Return to the oven and bake for another 20-30mins
turning several times until the chicken is tender and nicely glazed
5. Let the chicken rest for a few minutes before serving.

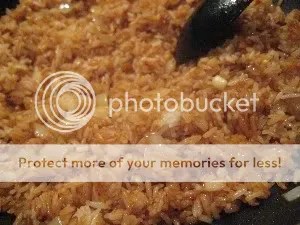
Tip : We served with bread rolls, garlic mash and some cucumber raita.
it balances the sweetness in the chicken dish!
and the sauce of the chicken was really good to go with the roll!


can u see all three of us?
it looks like Cheok is eating Lester’s head! hahaha (:
well. we are being nice hosts when we allowed the crew to have their dinner
and waited till the shoot was over before we tugged in.
little did we know the shoot would last till 10pm haha.
but was still quite fun!