{Spencer Cooks} Muah Chee

img_6451-1-1

I was always someone who loved snacking. Afternoon tea times are a time of the day I look forward to as I get to sit down, have a hot cuppa and something savoury or sweet to just fill my tummy before dinner. There are lots of small snacks that is easily attainable back in Singapore. However, it is a little more difficult to find it here.

So when I chanced upon a Muah Chee recipe, I HAD TO make it! It was the perfect snack for a Sunday afternoon. Muah Chee is a snack that we usually can get from night markets or hawker stalls. Small pieces of glutinous rice balls rolled in a sugar, peanut and/ or black & white sesame mixture! Every bite satisfies both the sweet and savoury craving to be honest! Which is why I love them!

img_6452-1

I couldn’t quite believe how quick and easy it was to make this in the Thermomix. Everything was done and ready to be enjoyed in 20 mins! And I can’t really put the joys of being able to make something from scratch in the comfort of my own home in words! So I will let the pictures do the talking! hehe

img_6463-1

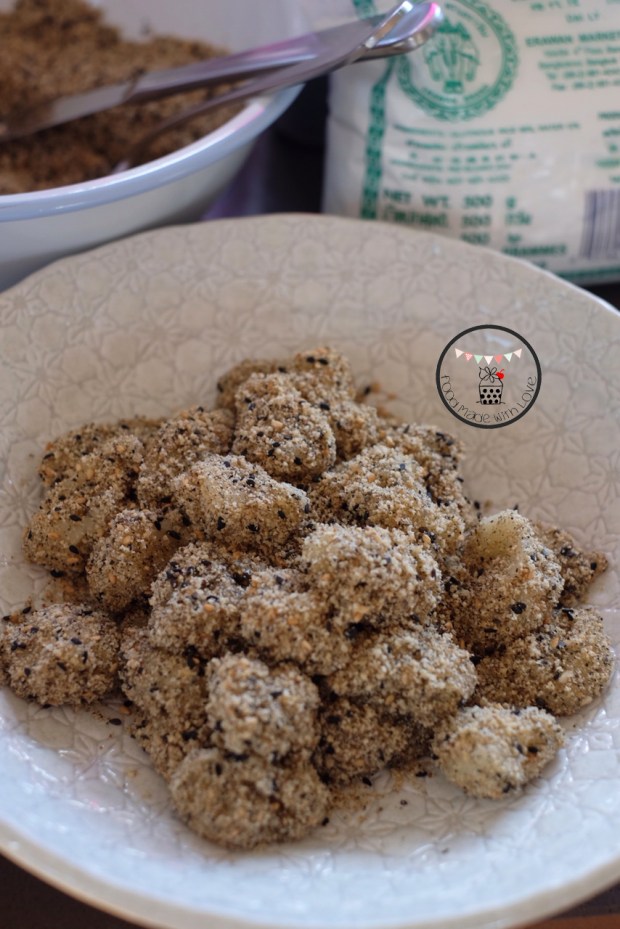
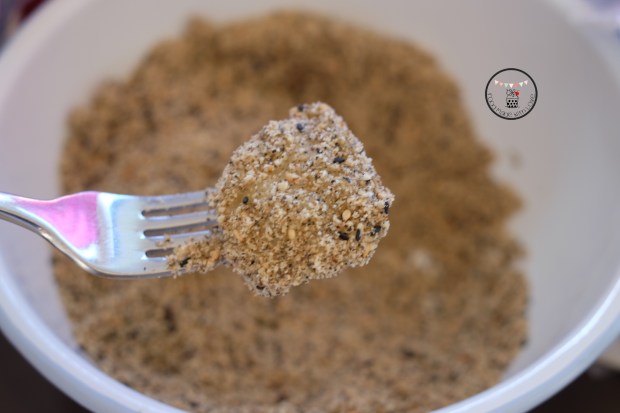
Little nuggets of deliciousness wrapped in a sugary peanut, white and black sesame mixture! SO SO GOOD!

Here’s the recipe for the muah chee. For those who have been craving like me, and to those who’s never tried it before. Please do give it a go! You won’t regret it!

img_6456-1

Muah Chee 

150g roasted peanut (without skin)

30g toasted white sesame

30g toasted black sesame

40g coconut sugar

120g glutinous rice flour

180g water

2 tbs olive oil

1000g water, for steaming

Steps :

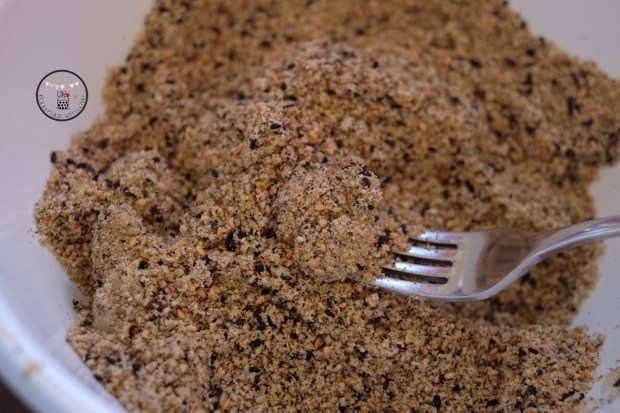
In the TM bowl, add the peanuts, half the amount of white & black sesame, and sugar. Chop for 5secs/ Speed 8.

Pour the mixture into a bowl and mix the rest of the sesame seeds. Set aside.

img_6466-1

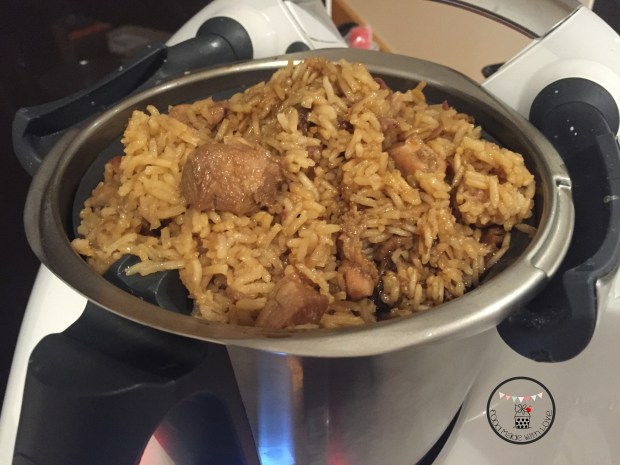
In the TM bowl, add the glutinous rice flour, water and oil and mix for 1 min/ Speed 6. You should get a smooth flour mixture.

img_6469-1img_6464-1

Pour into a shallow bowl and place the bowl into the Varoma deep tray. Place 1000g of water into the TM bowl and place the Varoma deep tray on top of the lid. Steam the mixture for 15mins/ Varoma/ Speed 3.

img_6460-1

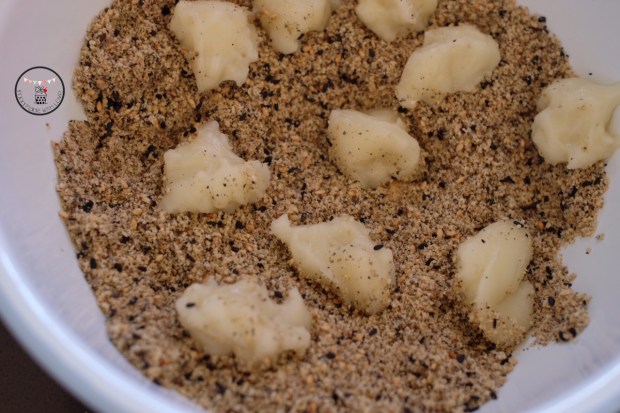
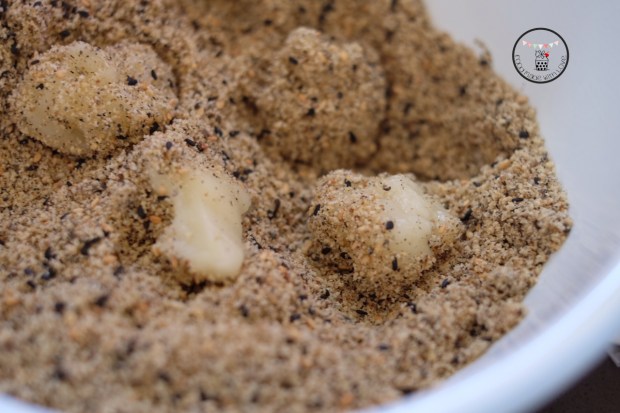
Once steamed, use a teaspoon, scoop and cut into pieces and toss into the peanut & sesame seed mixture. Make sure the glutinous rice balls are coated well.

img_6459-1

Serve and enjoy immediately!

img_6461-1

Hope you will give this a go and let me know what you think! I am salivating just looking at the pictures! Think I will have to make it again this weekend! hehe Have an awesome weekend everyone!

Remember to always cook and bake with love!

{Spencer Cooks} Hainanese Chicken Rice

dscf5320-1-1

One thing I truly miss is the food from back home. So when I got hold of the recipe of Hainanese Chicken Rice from the Taste of Asia Thermomix cookbook, I HAD TO try making it. Of course, I also had to make the dipping sauces, or else it wouldn’t be complete.

Prior to having Spencer, I have made chicken rice before, and it turned out great. But the multilayer cooking does make it a lot easier, and I have to say, the taste definitely doesn’t lose out to cooking it in the traditional way! Plus it was a huge hit with the two boys! hehe HOORAY!

dscf5291-1

One thing I cannot do without when having chicken rice is the dipping sauces. Especially this ginger dipping sauce! I usually buy them off the shelf at an asain supermarket, but I love that I am able to make it from scratch and also to get it on the table in about 5 mins!

dscf5293-1

Of course, the chilli dipping sauce too!

dscf5323-1

This is definitely is and will continue to be the staple in our house. Succulent chicken pieces with flavourful rice, I cannot think of anything that is more comforting for dinner.

I was asked by a customer at a Varoma cooking class recently to post about how I cooked my chicken rice. Sorry it took so long, but here it is! Step-by-step! I hope you all will enjoy it as much as we do!

Hainanese Chicken Rice (Adapted from Taste of Asia)

Ginger Dipping Sauce

120g young ginger, peeled

50g eschalots, peeled

100g vegetable oil

1/2 tsp salt

Steps:

  1. Place ginger and eschalots into the bowl and chop for 5 secs/ Speed 7. Scrape the side of the bowl.dscf5285-1
  2. Add remaining ingredients and blend for 20 secs/ Speed 8.dscf5286-1
  3. Scrape down the sides of the bowl and cook for 5 mins/100 deg C/ Speed 2. Pour into bowl or mini thermoserver, and set aside to have with Hainanese chicken rice.

dscf5289-1

Note : Can be kept in a jar for 1 week or frozen for 3 months.

Chilli Dipping Sauce

100g big red chillies, cut into 3 pieces

20g ginger, peeled

50g garlic, peeled

80g white vinegar

1 tsp salt

1/2 tbs sugar

Steps:

  1. Place chilli, ginger and garlic into the bowl and chop for 5 secs/ Speed 8. Scrape the sides of the bowl, and repeat process for 2 more times.
  2. Add remaining ingredients and blend for 1 minute / Speed 6.
  3. Add salt and sugar. Pour into a serving bowl or mini thermoserver and set aside.

Hainanese Chicken Rice (Serves 4-6)

2 tsp chinese wine

2 tsp light soy sauce

2 tsp sesame oil

1 whole chicken (about 1.7kg)

4 cloves of garlic

2 spring onion, cut into half

8 slices of ginger, peeled

4 eschalots, peeled

1 tbs olive oil

300g jasmine rice, rinsed

1.5L chicken stock

2 pandan leaves

A packet of bean sprouts

Fried shallots & thinly sliced spring onion, to garnish

Steps :

  1. Mix the chinese wine, soy and sesame oil in a small bowl and rub it all over the chicken as well as inside the cavity.dscf5297-1
  2. Stuff two cloves of garlic, spring onion, and 4 slices of ginger into the cavity and place into the Varoma dish. Make sure the chicken doesn’t cover all the holes to ensure the steam can be circulated. Set aside. dscf5301-1
  3. Place the remaining garlic, ginger and eschalots and oil into the bowl and sauté for 2 mins/ Varoma temperature/ Reverse, Speed 2. Add the rice and sauté for 2 mins/ 100 deg C/ Reverse, Speed 2. Pour mixture into the steaming basket and place pandan leave in the middle and set aside.dscf5309-1dscf5312-1
  4. Place 1 L of chicken stock into the bowl. Place the steaming basket of sautéed rice into the bowl as well and set the Varoma into position. Steam for 20 mins/ Varoma temperature/ Speed 4. Remove the steaming basket from the bowl, and place the rice into the Thermoserver to keep warm while the chicken continues steaming. dscf5303-1
  5. Top up the bowl with another 500ml of chicken stock. Replace the Varoma back into position and continue cooking for another 30-45 minutes/ Varoma temperature/ Speed 4, depending on the size of your chicken. In the last 10 minutes of steaming, add the bean sprouts around the chicken to steam. dscf5313-1
  6. Mix 3 tsp light soy sauce, 2 tbs of hot water, 1/2 tsp sesame oil and 1/4 tsp of sugar in a bowl. Chop up the chicken and pour this sauce over the chicken before serving.

dscf5315-1

Garnish with fried shallots and thinly sliced spring onions. Serve with the two dipping sauces prepared and a thick black soy sauce.

dscf5321-1

Tuck in and enjoy!

Would love to hear what you think after you’ve tried this! Email me photos of your creation as I would love to see them!

Follow me on Thermolove to get more inspiration!

Remember to always cook and bake with love!  

{Spencer Cooks} Claypot Rice

IMG_5917-1-1

Sine I had Spencer, I’ve been trying to convert my favourite recipes into one which I could use the Thermomix to cook in. Why you ask? There is less to wash (just the bowl) and it cooks quicker, without me needing to worry about burning anything!

This is a family favourite and I’ve cooked it in a few different ways. One of the most convenient way is to cook it in the rice cooker. That is before I tried making it using Spencer. hehe Of course, the main reason why people love having claypot rice is because they love the crispy bits at the bottom of the claypot. And yes, using the Thermomix won’t give you that result, but you can easily transfer everything into a claypot after it’s cooked and cook it over the stove for another 5 mins on high heat.

img_5914-1

The flavour though is still as delicious and with all my other dishes, it’s just full of wholesome ingredients. Every mouthful has a bit of chicken, chinese sausage, rice, shiitake mushrooms, fried shallots and spring onion. What’s not to love?

So here’s the steps to cooking it in a Thermomix if you have one, if not just click on the link about to make it in your rice cooker (:

Ingredients:

350g chicken thigh, cut into small chunks

200g jasmine rice

2 chinese sausages (lup cheong), sliced thinly

2 chinese liver sausages (optional), slice thinly

8 dried shiitake mushrooms, soaked and thinly sliced

4 cloves garlic

1 small onion (60-80g)

2 inch ginger, peeled and cut into coins

20g olive oil

900g water

For the marinade:

20g sesame oil

10g tamari/soy sauce

20g oyster sauce

20g dark sauce

10g black vinegar

10g shaoxing wine

pinch of ground white pepper

2 spring onions, finely sliced

fried shallots, to serve

thick dark sauce, to serve

IMG_5918-1

Steps :

  1. In your Thermomix bowl, place the garlic, onion & ginger and chop for 5 secs/sp 5/MC on. Scrape sides and add olive oil. Saute for 3 mins/100 degrees/reverse/sp 1/MC on.

IMG_5926-1

2. Add the chinese sausage and liver sausage, if using, and sauté for 2 mins/100 degrees/reverse/sp1/MC off. Then add the shiitake mushrooms and sauté for a further 3 mins/100degrees/reverse/sp 1.

IMG_5924-1

3. Add the chicken thigh pieces as well as the marinade and stir fry for 5 mins/100 degrees/reverse/spoon.

IMG_5922-1

4. Insert steaming basket into the bowl and weigh out 200g of jasmine rice. Rinse the rice under running water then toss it into the bowl with the rest of the ingredients. Fry the mixture for 1 1/2 mins/100 degrees/reverse/spoon. Place the steaming basket on a bowl, then carefully pour the rice & meat mixture into the steaming basket.

IMG_5920-1

IMG_5919-1

5. Without rinsing the bowl, place the steaming basket into the bowl and pour the sauce back into the bowl, as well as 900g of water. Cook the rice for 25 mins/Varoma/sp4/MC on, stopped at 15 mins to give it a stir using your spatula.

IMG_9658-1

6. Once it’s done, you can pour it into your thermoserver, and top it with the sliced spring onion and fried shallots and a swirl of thick dark sauce. If you prefer the crispy bits, place the cooked rice into a claypot and cook it over high heat for 5-10 mins, keeping a close eye to make sure it doesn’t burn. Then top it with spring onion, fried shallots and thick dark sauce when serving.

IMG_5916-1

ENJOY!

{Spencer Cooks} Gula Melaka Kaya

unnamed-12-1-1

For those who follow me on Instagram (@lianneelow) you would know I have a new baby. A machine baby haha My dearest mr has got me the dream machine of my life – A thermomix! I was so so excited when I placed my order and couldn’t wait for it to arrive! I have to admit, I’ve always wanted one. But gave it a pass cos of two main reasons – 1) the cost and 2) I already have a whole range of machines in my small kitchen. But having it for the past 2 weeks, I think I can now sell my other machines (besides my kitchenaid hehe)!

Spencer

So everyone, meet Spencer! (: Don’t ask me how I came up with the name. It just came to me when I got it. So Spencer it is! I’ve not stopped using it since it arrived! And don’t you worry, I will be sharing the recipes I’ve tried (and some original recipes, hooray!) with all of you! hehe

The very first thing I’ve made is  recipe I’ve been wanting to make for ages. I kept it in my “in case I get a thermomix folder” haha Gula Melaka Kaya (Coconut jam)! YUM! Living in Singapore, our breakfast staple is hot and crispy kaya toast with a cup of hot tea/coffee, with a side of half-boiled eggs! Seriously the best start to the day! So I was really excited to make it so we could have that in Melbourne too!

Piggy currant buns with kaya

Lochlan was super lucky and loved to get some delicious soft and fluffy piggy buns from The Bakeanista (check her blog out! She makes the most amazing bread!) and I too had some with the kaya that I made! Perfect combination! Mmmmmm (:

So here is the recipe for the Gula Melaka Kaya that Spencer made!

{Spencer Cooks} Gula Melaka Kaya (Coconut Custard Jam, Recipe from Thermomix Recipe Community)

250g Gula Meleka

3 egg yolks, large

1 whole egg

250g coconut cream (I used Kara carton)

3 fresh pandan leaves, tied into a knot

Steps :

Milling the gula melaka

1) Break the gula melaka into ice-cubed sized pieces before putting them into the thermomix. Mill the gula melaka, speed 10/10secs.

Milled gula melaka

2) Add egg yolks and egg, mix speed 3 until the sugar has dissolved. Using the spatula, scrape the base to make sure all the sugar has dissolved.

Add the egg and egg yolks

3) Cook for 10 mins/90 degrees/Speed 3.

4) Add coconut cream and pandan knot into the mixture, cook for 45 minutes/100 degrees/reverse/Speed 3. Leaving the MC out allowing the steam through.

Adding coconut cream and pandan knot

5) Check the consistency of the kaya, it should be thick, glossy and smooth. If it’s not thicken, repeat step 4 for another 10 minutes. Allow it to cool then place into glass jars/jam jars and keeps well  in the fridge for 2-3 weeks!

Kaya ready!

I was surprised that it wasn’t the deep dark brown kaya I was looking for. But it was still thick, glossy and absolutely delicious! I have also collected more kaya recipes and will be trying them again soon! So stay tuned for the comparison!

Piggy currant bun

Remember to have it with some toast/bun and a cup of hot coffee/tea! (:

Have a great Hump Day everyone and remember to always cook and bake with love!