Sugee Cookies : Easy and A Great Gift !

photo 2-1-1

Chinese New Year is no doubt a season of sharing food and every year, there is just one thing I love to make for my colleagues and close friends here in Melbourne. Sugee cookies! These melt-in-your-mouth cookies are so addictive, you will never be able to stop at one!

Sugee cookies

The best thing about these cookies are that they are so easy to make, and you don’t even need a mixer. All you need is a large bowl, a weighing scale and a wooden spoon! The you’re good to go! So if you’re thinking of making something that is a sure winner, try and make these! I am almost certain that your friends and family will love these!

Sugee Cookies (makes about 24-30 cookies)

80g almond meal

150g plain flour

100g sunflower oil

50g icing sugar

1/2 tsp salt

1/2 tsp bicarbonate soda

1 egg yolk + a splash of water (for egg wash)

Steps :

1) Preheat oven to 170 degrees celcius. In a large metal bowl, aft all the ingredients except for the egg wash.

Ingredients for the sugee cookies

2) Take teaspoons full of dough and roll them into round balls. Place them on a lined baking tray and brush the top with egg wash.

all ready to be baked

3) Bake for 7 mins and rotate the tray to bake for a further 7 minutes until cookies are golden brown.

packed and ready to be gifted

4) Allow it to cool on a cooling rack before you start popping them into your mouth or pack them in a bottle! Enjoy! (:

Just 4 easy steps to get this delicious bite, so don’t wait any longer! Go go go!

Remember to cook and bake with love! 

Galloping into the Year of Horse with Homemade Bak Kwa

photo 3-1-1

Happy Lunar New Year my dear readers! (: So sorry for the lack of posts! I’ve been back in Singapore and spending as much time as I could with my family. But I’m back and ready to share lots with you, so please hang in there with me. I promise to make your time worthwhile!

I’m not sure what your traditions are for Chinese New Year, but for me, it’s about coming together as a family and feast on delicious food! Of course it’s not always about food, it’s also about spending time with your loved ones and just reminescing on the good things from the past year, setting goals for the new one!

There are many different kinds of Chinese New Year goodies that we love to eat. Lucky for me, I got to eat my fair share before I flew back to Melbourne. But there is one that I didn’t quite get to have and also sadly, we aren’t allowed to bring it back cause it’s meat. BAK KWA! It’s like a chinese pork jerky that is sweet and salty and just delicious!

homemade bak kwa

Singaporeans really do love their bak kwa, and many would actually queue for hours to get some! So instead of queueing (plus I don’t think I can get any that are similar to those back home), I decided to try making them this year!

The best thing about this is that you can freeze it and just grill it when you feel like having some! Trust me. Once you have a bite, you would definitely want to keep some in your freezer. These are so addictive! So give them a go, you won’t regret it!

Homemade Bak Kwa (adapted from Nasi Lemak Lover)

Ingredients :

900g mince pork

130g caster sugar

2 tbs light soy sauce

1 tbs shaoxing wine

2 tbs oyster sauce

1 1/2 tsp thick dark soy

1/4 tsp five spice powder

Ground white pepper

1 tbs honey

Steps :

1) Marinade the mince pork a day before you intend to make it. In a large bowl, add all the ingredients and mix with a pair of chopsticks.

Marinating the mince pork

Stirring the mixture in one direction

2) Make sure you stir it in one direction and until the mixture becomes gluey. Do make sure it’s gluey as it will allow the meat to stay as one piece after being baked. Cover the bowl with cling wrap and place it in the fridge overnight or for at least 3 hours.

Gluey mixture

3) Preheat the oven to 160 degrees Celcius. Spread the marinated pork mince thinly onto the baking tray using a spatula.

pork mince mixture spread onto baking tray

4) Bake the pork mince for 15 mins and remove it from the oven. Allow it to cool slightly before cutting it into desired shape and size using scissors or a pizza cutter. If you intend to freeze it, allow them to cool completely before placing them in a zip lock bag and freeze it up to 2 weeks.

baked and cut

5) Turn the grill on at 240 degrees Celcius and grill one side for 5 mins before flipping and grilling the other side for a further 5 mins, until the meat is golden brown or slightly charred on the sides. Let is cool down (it actually tastes better the day after it’s grilled!) and enjoy! (:

homemade bak kwa

So you ready to make some bak kwa? You’ll love it for sure! Have a prosperous year of the horse everyone!!

Remember to always cook and bake with love.

Chinese New Year Inspired Cupcakes

Happy Lunar New Year everyone! (: Sorry I know I’m very late and I have gone missing in a long long time. Heading home always does this to the poor blog of mine. But I’m back! and it’s always good to be back (:

so what was your favourite cny goodie out of all that you tried? Mine’s no doubt pineapple tarts. I don’t only love to eat them, I love to make them!

I actually love making them so much that I am considering selling them next year! Will you support me?

If you’re not a fan of pastry, how about a pineapple tart inspired cupcake?

I have awesome friends who constantly give me ideas on the different flavour combinations I should try on a cupcake and no doubt, this was one of them. I originally wanted to bake the tart base to crumble it and put it on the top, but I was too lazy. So i topped it with digestive biscuits instead!

It’s really not so difficult to make, and I can even say it’s not as sinful as a pineapple tart. Only cause, you probably can eat 3-4 tarts at one go (guilty!) but after eating one cupcake, you would be happy enough to stop (or maybe you will have just ONE more haha).

so here’s the recipe! Hope you all will enjoy!

Pineapple Tart Inspired Cupcakes

125g unsalted butter, softened

250g cream cheese

1 cup caster sugar

4 eggs

1 tsp vanilla extract

2 cups (300g) self-raising flour, sifted, plus extra to dust

300g pineapples, chopped (I used the tin ones, squeeze the pineapple dry before using them)

Steps :

1.     Preheat the oven to 1800C and line 12 mini cupcake pan with paper case

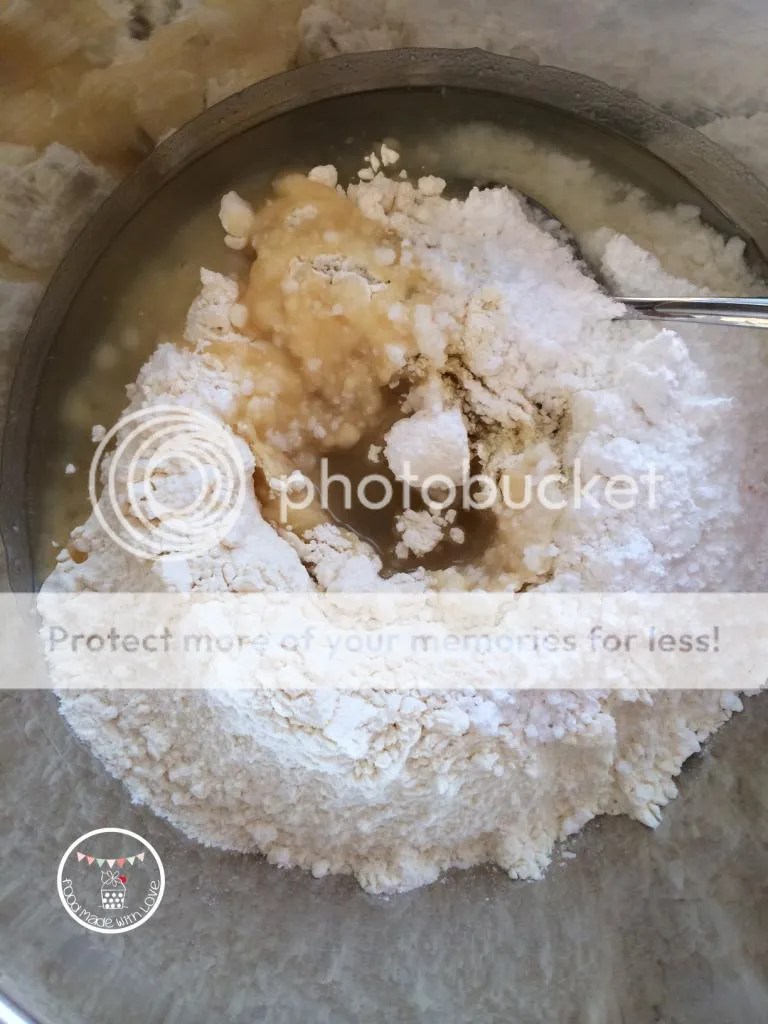
2.     Place the butter, cream cheese and caster sugar in the bowl of an electric mixer and beat until pale.

3.     Add the eggs one at a time, beating after each addition until just combined.

4.     Add the vanilla and fold in the flour and a pinch of salt.

5.     Dust the chopped pineapple with a little extra flour then stir through the mixture.

6.     Spoon into the cupcake cases and bake for 12-15mins or until golden brown. Remove from the oven and allowed to cool.

Pineapple Cream Cheese Icing

1/2 cup butter (1 stick), room temperature
2 cups (8 ounces) powdered sugar, sifted (more if needed)
10 ounces cream cheese, room temperature and cut into small pieces
1 tsp pure vanilla extract

2 tbs reduced pineapple syrup

Digestive biscuit, crumbled finely

1. Sift powdered sugar and matcha together into a small bowl.

2. In a larger mixing bowl, cream the butter, powdered sugar mixture, and vanilla until thoroughly blended. Add the cream cheese, a chunk at a time, beating after each addition (just enough to work it in). Add the reduced pineapple syrup (make sure it has cooled to room temperature) until well combined.

3. Pipe it on the cupcake how you like it. Sprinkle some digestive biscuit crumbles and top with a chocolate bead.

So do you think I should sell my tarts? haha Will you support me?

Everybody HUAT AH! (: Still not too late! hehe