Cocoa, Coffee & Walnut Swirl Cake

photo 1-2-1-1

I’m in a butter cake phase. I just can’t get enough of it. I think it might be a pregnancy craving. hehe But then, it isn’t a bad craving to have, is it? What could be better than soft and buttery cake? Absolutely nothing! Especially with a hot cuppa – perfect afternoon tea!

Nespresso SG Fortissio Lungo

I was lucky enough to be sent a tube of the new Nespresso flavour – Fortissio Lungo. It’s the first in the Lungo range with a strong intensity (8) and has a richer taste with fuller body. With notes of cereal, the beans are from Central-South America combined with the precious full Arabica Monsoon Malabar from India. I really wanted to make something with this new flavour, and all I can think of is in a form of a butter cake!

Cocoa, coffee & walnut swirl cake

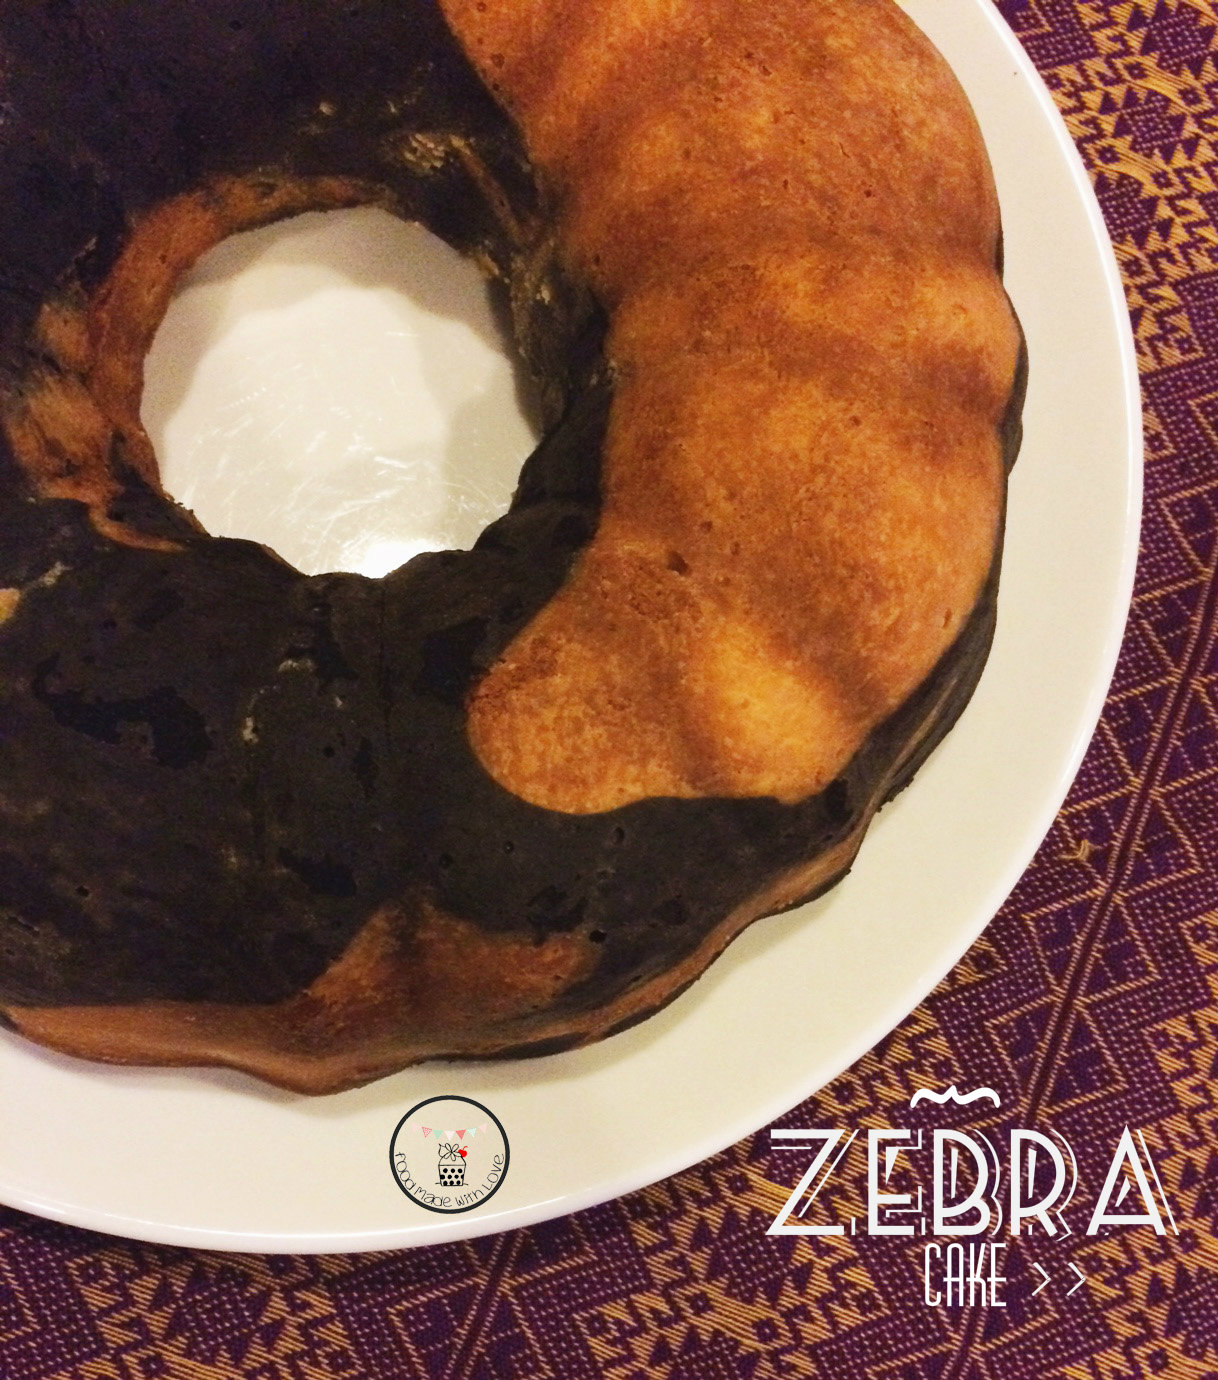
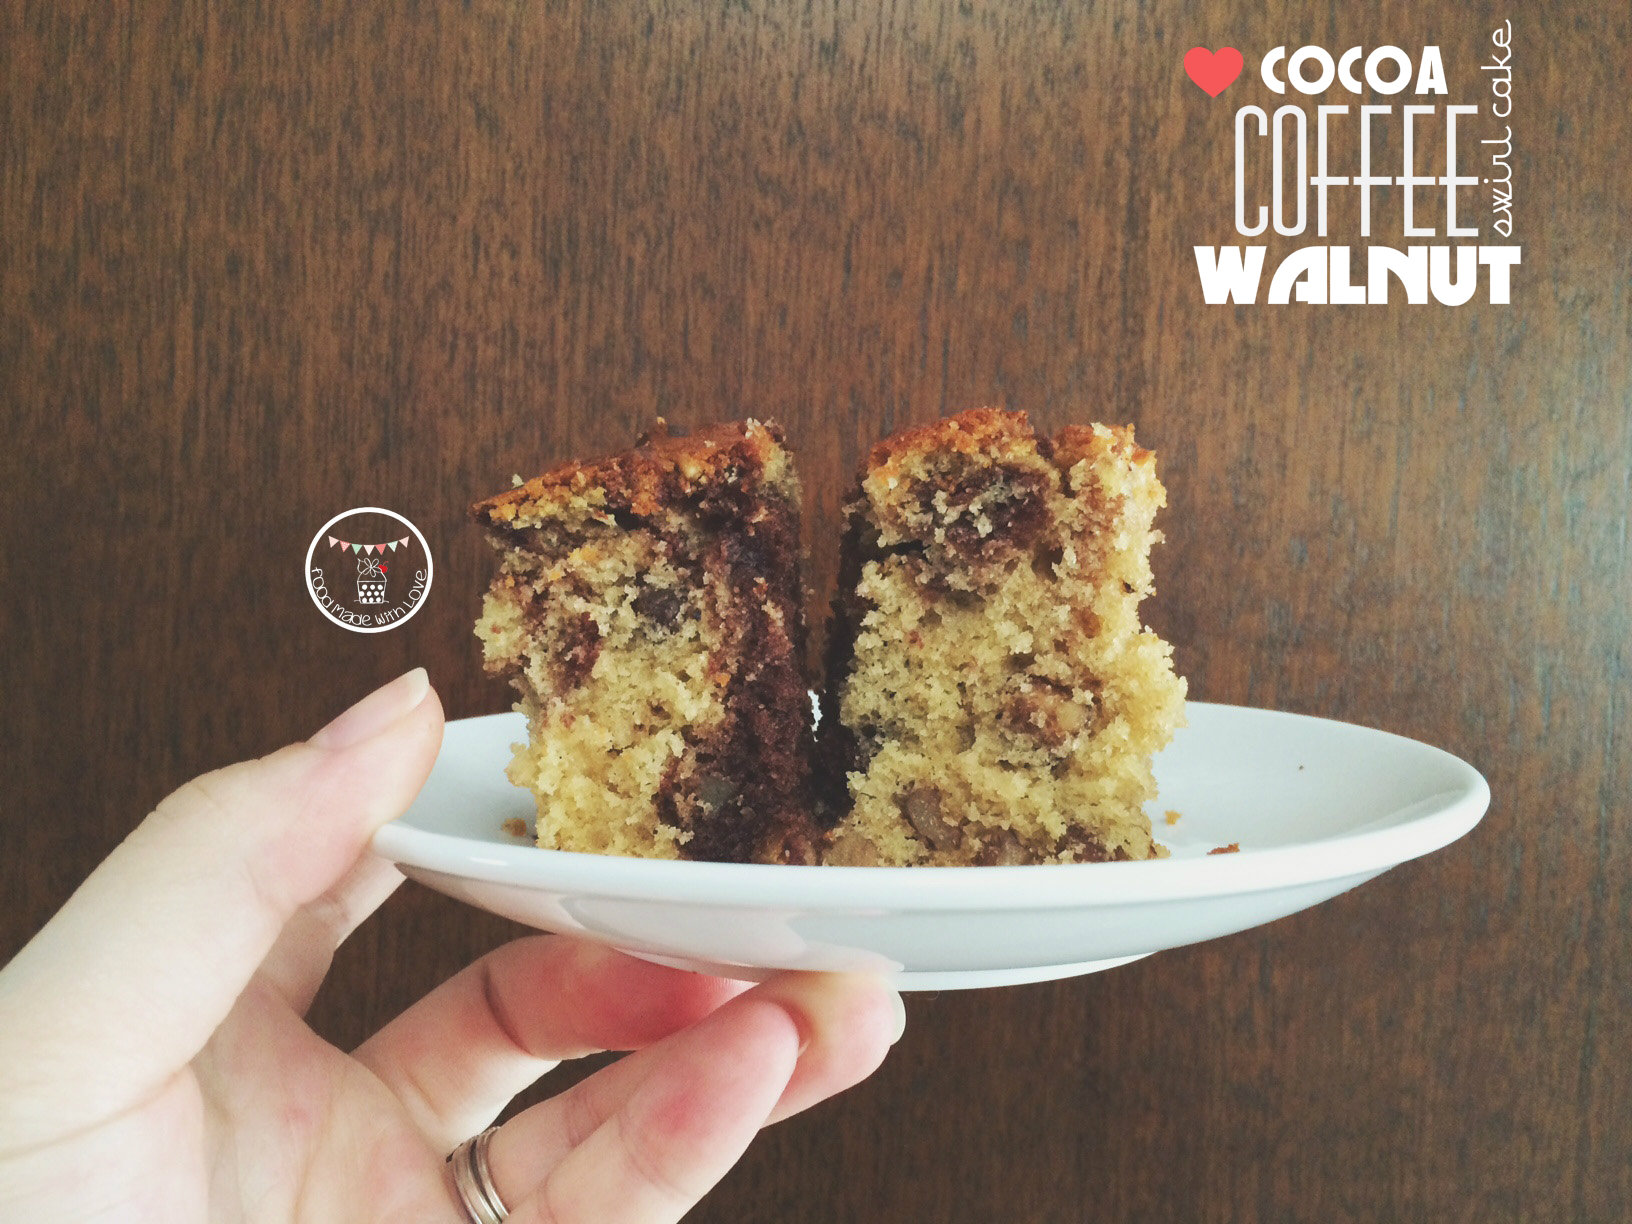
And I love swirls in my cake! hehe It’s fun making them and also so pretty before and after being baked! So I decided a swirled butter came with cocoa, coffee and walnut! Mmmm (:

Cocoa, Coffee & Walnut Swirl Cake

250g self-raising flour, sifted

250g butter, room temperature

100g caster sugar

1 tsp vanilla bean paste

3-4 tsp espresso, cooled to room temperature (I used the Fortissio Lungo)

5 whole eggs, room temperature

1 tbs cocoa powder

140g walnut, roughly chopped and toasted

Ingredients

Steps :

1) Preheat oven to 170 degrees celcius. Butter and line the base of a square baking tin and set aside.

2) In a standing mixing bowl, add the butter and sugar, cream till light and fluffy. Add the vanilla bean paste then add the eggs, one at a time, and beat till well combined.

3) Add the espresso and slowly add the flour and chopped walnuts. Mix till all the flour is well combined, but careful not to over mix it.

4) Take half the mixture and place in a bowl. Sift in the cocoa powder in and mix till well combined.

5) Alternately place the coffee mixture and the cocoa mixture into the baking tin.

Cocoa, coffee and walnut mixture

6) Using a knife, run through the mixture from left to right, then do the same after turning it 90 degrees clockwise. You should get beautiful swirls!

Swirled cake

7) Bake the cake for 40-45 minutes, or until a skewer comes out clean after being inserted to the middle of the cake. Allow the cake to cool in the pan for 10 minutes before inverting onto a cooling rack. Make sure the cake is totally cooled before cutting, or it will crumble!

Cocoa, coffee and walnut swirled cake

This was a big hit in my family and the addition of the walnut made it yummier in my opinion! hehe (: Have a go and let me know what you think!

Remember to always cook and bake with love. Till the next post, xx

Zebra Cake

photo 2-1-1

Home. I am back in the comfort of my home in Singapore getting ready for the arrival of our little bub, Baby Ho! (: But regardless of which island I’m on, I still always have the itch to bake! Lucky for me, I’m still able to do what I love with the big bump in front of me hehe

SCS Baker's Starter Kit

Also I was fortunately enough to be sent a baker’s starter kit from SCS Butter which was filled with boing essentials that I could use! So off I went to get some SCS butter from the local supermarket and planned what I wanted to make.

Zebra cake

I’ve been wanting to bake a zebra cake for ages, but never got down to making it. Since it’s a butter cake, I thought this would be a perfect time to try it! hehe I was a little nervous as you won’t know how to will actually turn out till you cut it open, almost like a surprise cake! haha So you would be able to see the relieve on my face when I got the first slice out of the bundt! Even though there aren’t as many stripes as I hoped for, I was glad there were at least some! hehe

I absolutely love the texture of the cake baked in a bundt tin – it had a nice crunchy crumb on the outside, soft and fluffy on the inside, not to mention how buttery it was! And to resemble more of the black stripes, I found extra dark chocolate cocoa which turned out almost black!

Extra dark cocoa powder

I actually got quite a shock seeing how dark it was, but it worked out well! hehe

So here’s the recipe and how I made the zebra stripes!

Zebra Cake (adapted from Ambrosia)

340g unsalted butter (I used SCS butter)

453g cake flour

200g caster sugar

4 eggs

1 tsp vanilla bean paste

1/2 tsp salt

1 cup buttermilk

1/2 cup dark cocoa powder

6 tbs water

Steps :

1) Preheat oven to 170 degrees Celcius. Butter/Oil and flour a bundt baking tray well.

2) In a standing mixing bowl, cream the butter and sugar until it’s light and fluffy. Add the eggs one at a time, making sure that each addition is well combined into the mixture. Scrape the sides and the bottom of the mixing bowl when needed.

Adding buttermilk & flour

3) Add the salt and vanillin bean paste and beat for another 30 seconds or so. On low speed, alternate the cake flour and buttermilk until both are very well incorporated. Make sure you start and end with the cake flour. Beat until the mixture is smooth, but careful not to over mix the batter.

Mixing the batter to the cocoa

4) In a medium size bowl, mix the cocoa powder and water. Make sure there’s no lumps. Add 1 generous cup of the cake batter into the bowl and mix till well combined.

Getting ready to make the zebra cake

5) To make the zebra effect, add two heaps spoonful of vanilla batter in the bundt pan, then 1 heap spoonful of the chocolate batter. Continue to alternate the vanilla and chocolate batters until all the batters are used up and the bundt pan is filled. Tap the bundt pan to help in spreading the batters and be more equally distributed.

Steps to making the zebra patterns

Cake ready to be baked!

6) Bake the cake in the middle rack of your oven for 45-50 minutes. The crust will be golden brown and the cake should spring back when lightly touched. To check if the cake is done, stick a toothpick into the cake and it should come out clean. Allow the cake to cool for 10 mins in the bundt pan, then invert it out into a cooling rack. Allow it to cool completely.

Zebra cake

You can dust it with icing sugar, I wish I did, but I ran out of it! ENJOY!

Remember to always cook and bake with love! Thanks SCS for the starter kit once again! Till the next post, xx